
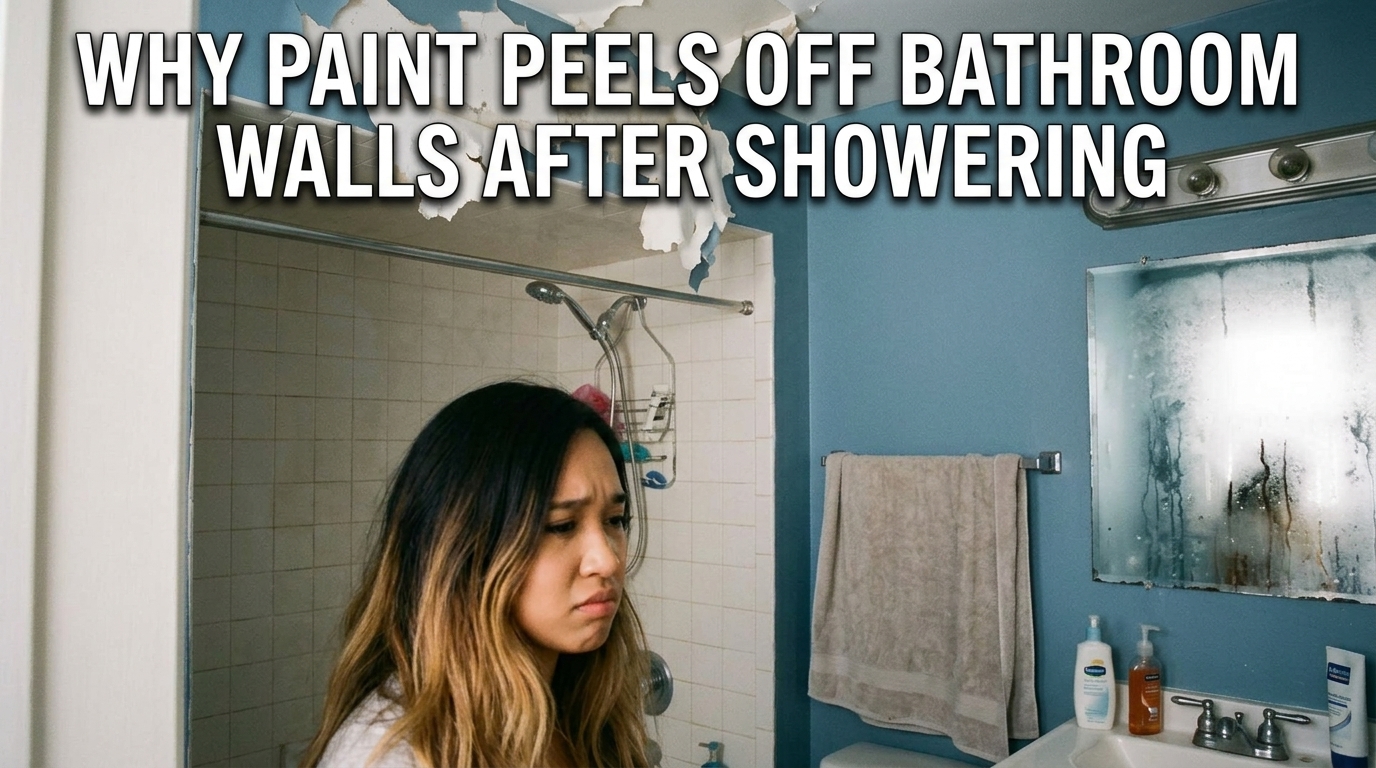
It was a freezing Tuesday morning in November. I was in my small upstairs bathroom in Seattle. I was rushing to get ready for work. I stepped out of a hot twenty-minute shower. Thick white steam filled the tiny room. I wiped a circle of fog off the mirror. That was when I looked up at the ceiling. A sheet of beige paint was hanging off the drywall. It looked like skin curling off a bad sunburn.
Table of Contents
I gently pulled on one loose edge. A big strip peeled away with a soft crinkly sound. My heart sank into my stomach. If you are standing in a fog asking why does paint peel off bathroom walls after showering, I know your pain. I spent weeks dealing with this flaky mess. I made plenty of dumb mistakes at first. But I also learned how to fix it for good. Here is what causes peeling paint and how you can fix your walls today.
A Cold Tuesday Morning and a Peeling Wall
That damp morning changed how I look at home projects. I stood there in my towel feeling annoyed and confused.
Stepping Out of the Fog
The bathroom smelled like damp plaster and hot soap. Steam was dripping down the walls in long clear lines.
I had painted that wall six months earlier. I thought I did a great job. But as the room cooled down, more paint began to bubble. Small blisters popped up near the ceiling. It looked like my wall was shedding its skin.
The Sound of Flaking Paint
I took my putty knife and touched a bubble. The paint cracked with a crisp crunching sound.
Underneath the paint, the drywall felt cool and damp to the touch. The paint had lost its grip completely. It was not sticking to the wall at all anymore. I realized my weekend painting job was a total failure.
Why Does Paint Peel Off Bathroom Walls After Showering?
Understanding why this happens is the first real step to fixing it. Moisture is a silent thief that ruins paint bonds behind your back.
Condensation and Liquid Water
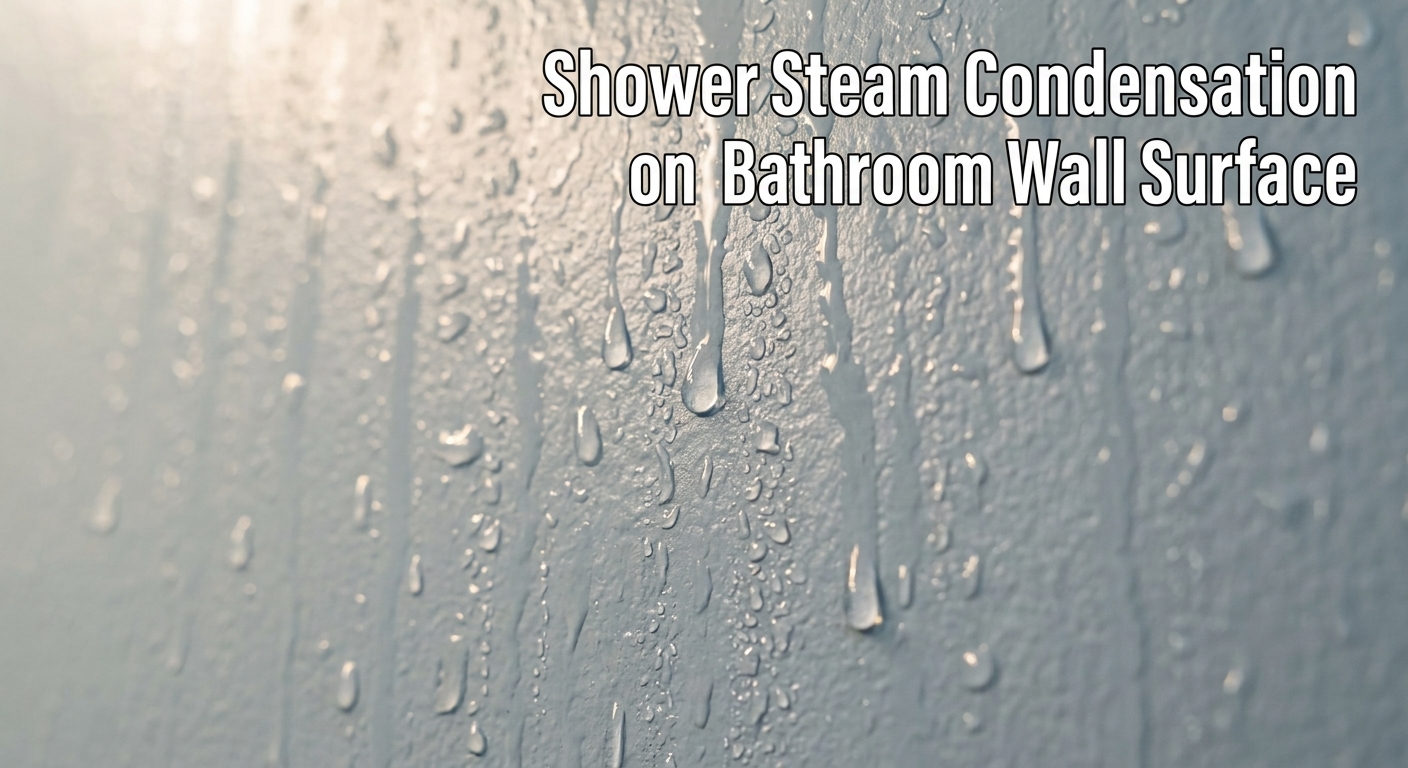
A hot shower turns liquid water into airborne steam fast. That warm steam travels through the cold air of your room.
When warm steam hits a cool wall, it turns back into liquid water drops. This process is called condensation. Water sits on the surface of your paint. If your paint has tiny pores, the water creeps right through them.
The Trap of Modern Latex Paint
Most homes use latex paint on interior walls today. Latex paint forms a thin rubbery film over your drywall.
When water gets behind that rubbery coat, it gets trapped. It has nowhere to go. The water pushes against the back of the paint film. The damp drywall paper softens underneath. Soon, the paint bond breaks and the paint curls outward.
Poor Airflow in Small Spaces
My small bathroom has no windows. The only air outlet is a small ceiling fan.
My old fan made a loud grinding noise like an old coffee mill. But it moved almost no air out of the room. The steam just sat on the walls for hours after every shower. The longer water sits on paint, the faster the paint fails.
Mistakes I Made Trying to Fix it Quickly
I tried to take cheap shortcuts at first. My lazy choices made a big mess and wasted my hard-earned money.
Slapping Paint Over Loose Edges
My first attempt at a quick Repair was embarrassing. I took a small brush and painted directly over the loose peeling edges.
I thought the fresh paint would act like glue. It looked okay for about two days. Then I took a steamy shower on Thursday night. The new paint peeled right off. It pulled even more old paint down with it.
Falling for Flat Matte Paint
I love flat paint finishes. I used matte paint in my bedroom because it hides bumps. I used the same flat paint in my wet bathroom.
That was a silly mistake. Flat paint is soft and porous like a dry sponge. It drinks water droplets instantly. In a steamy room, flat paint will always soften and peel away fast.
Skipping the Prep Work
Bathrooms get dirty in sneaky ways. Hair spray, aerosol deodorants, and soap scum settle on the walls every day.
I did not clean my walls before painting. I just painted right over the invisible grime. Paint cannot stick to oily soap film. It stays on top of the dirt until moisture pulls it off.
Simple Troubleshooting for Bathroom Walls
Before you buy fresh supplies, you need to check your space. Good Troubleshooting helps you find the true cause of the damage fast.
Start your Troubleshooting by checking where the paint is peeling. Is the damage near the ceiling above the shower? That means steam buildup is your main problem. Is the damage low near the floor trim? That could mean a hidden plumbing leak inside the wall.
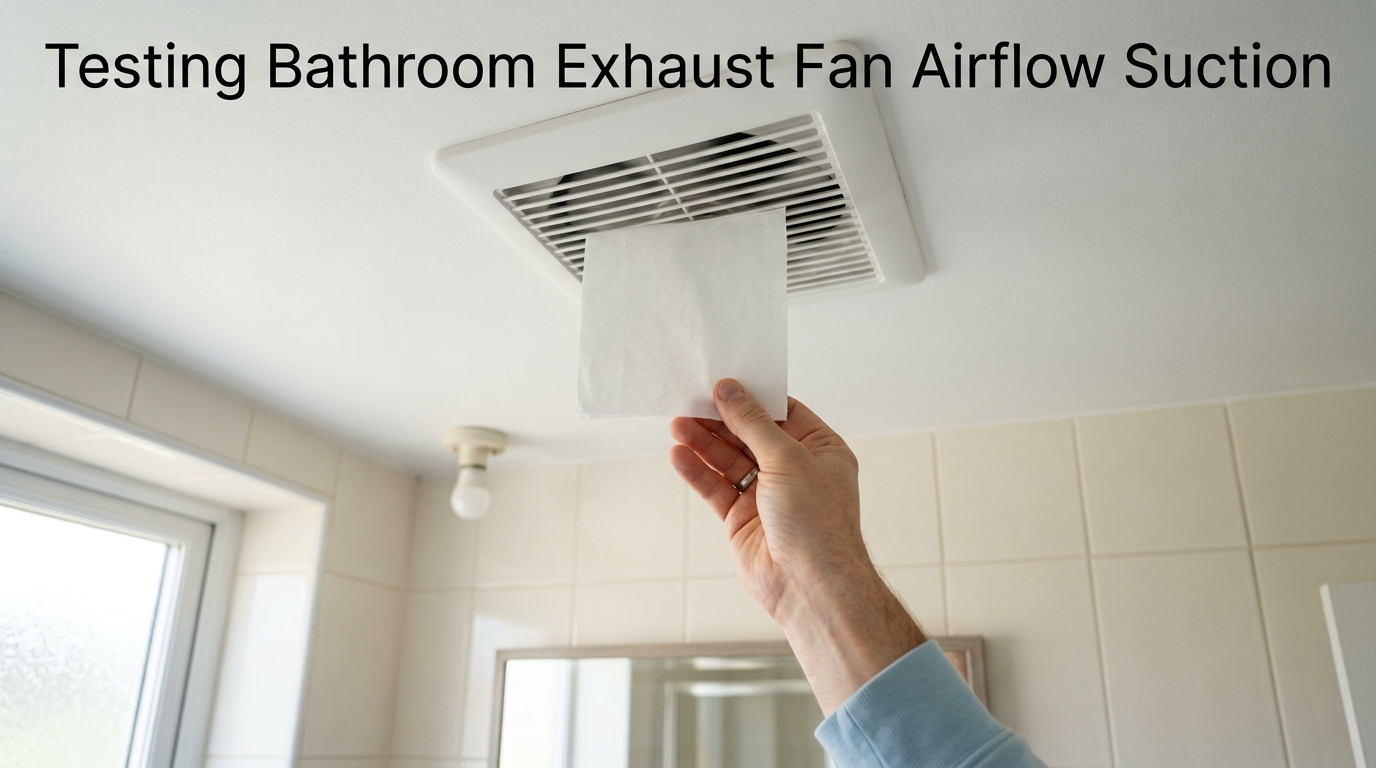
Next, continue your Troubleshooting by testing your exhaust fan. Turn the fan on and hold a single square of toilet paper against the vent grill. If the paper drops to the floor, your fan is not pulling air. Fixing air movement must happen before you touch a paintbrush.
How I Fixed My Peeling Walls Step-by-Step
On a sunny Saturday morning, I decided to do the job right. I spent four hours fixing my bathroom walls properly.
Step 1: Scrape Away the Damage
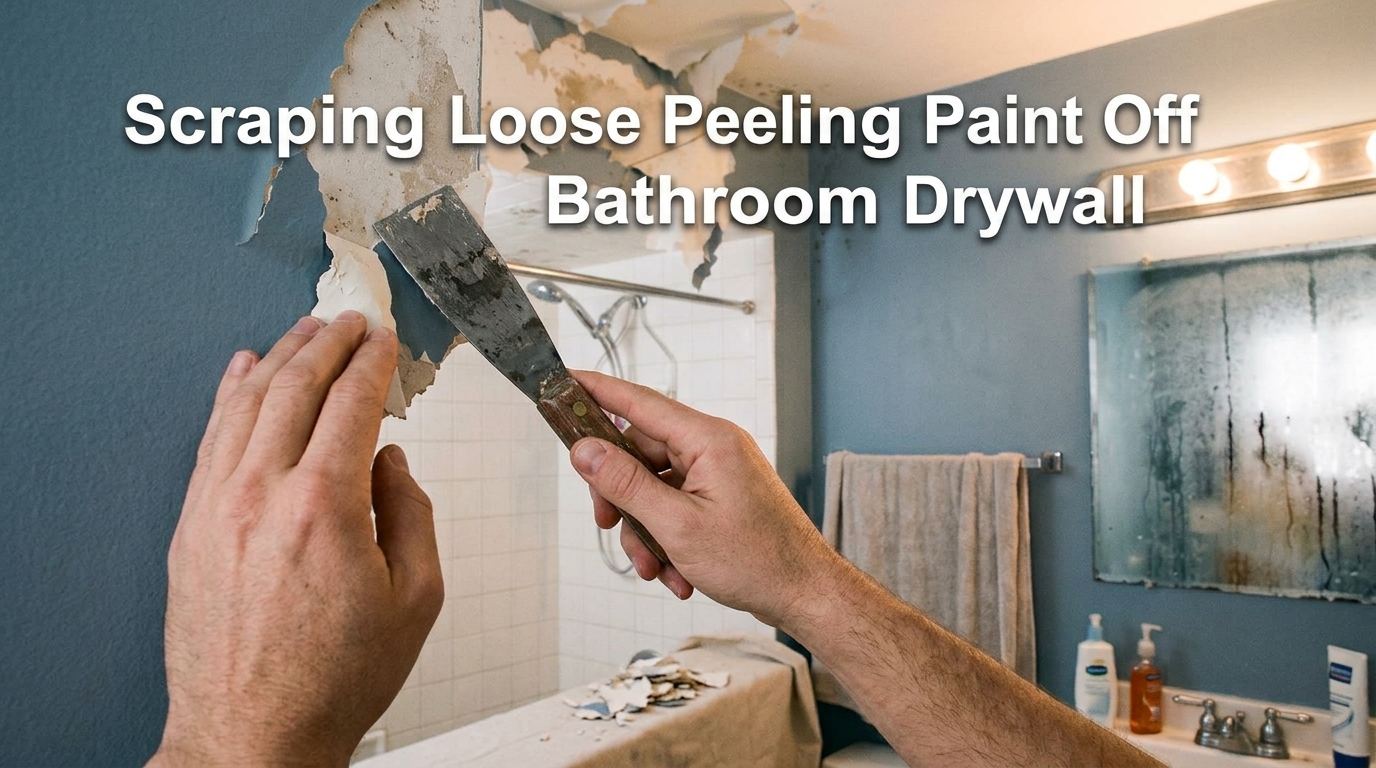
I put on a cheap dust mask and grabbed a rigid putty knife. I set a trash bag on the floor right below me.
I slid the scraper edge under the loose paint. I scraped with gentle pressure. Sheets of loose paint fell into the bag with a satisfying rustle. I kept scraping until I reached paint that was stuck tight to the wall.
Step 2: Smooth the Rough Edges
Scraping leaves sharp ridges where the bare drywall meets old paint. If you paint over those ridges, the wall will look bumpy.
I took a fine sanding sponge and sanded the edges in smooth circles. I sanded until the edge felt flat under my fingers. Taking time here makes the final wall look brand new.
Step 3: Deep Wall Cleaning
Do not skip deep wall Cleaning if you want paint to last. Dust and soap film will destroy your new paint bond fast.
I mixed warm water and dish soap in a green bucket. I used a soft sponge for thorough wall Cleaning. I washed away all the sanding dust and oily soap film. After Cleaning the surface, I let the wall dry for three full hours.
Step 4: Patching Bare Drywall
Scraping pulled off a few tiny bits of drywall paper. I needed a flat surface before applying primer.
I scooped a small dab of lightweight joint compound onto my putty knife. I spread a thin layer over the low spots. After two hours of drying, I sanded the patches smooth with fine sandpaper.
Step 5: Applying a Sealing Primer
Primer is not optional in a steamy room. Primer acts like strong double-sided tape for your wall.
I bought a coat of moisture-resistant primer. I painted a solid layer over all bare drywall and patched spots. The primer sealed the porous drywall so moisture could not sink deep into it.
Step 6: Coating with Semi-Gloss Paint
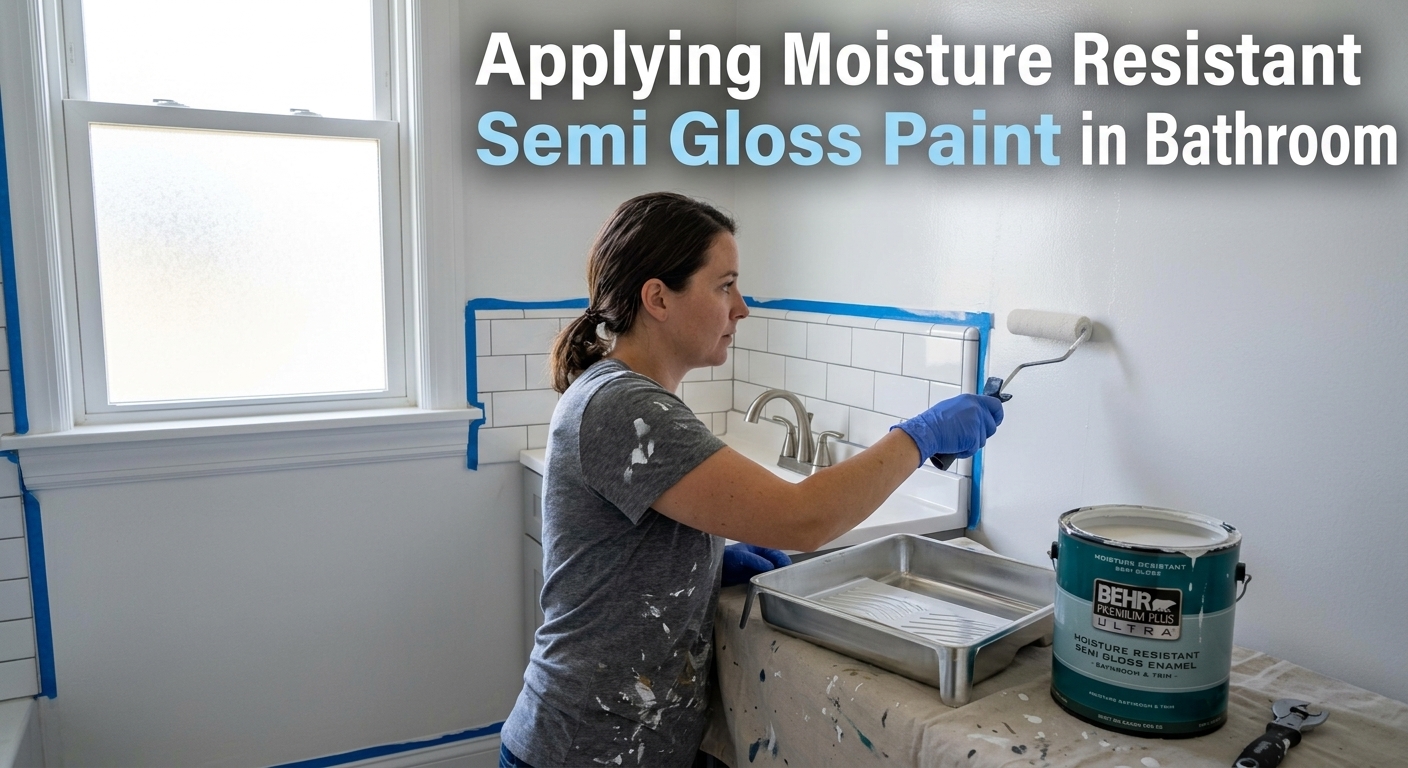
I threw away my flat paint and bought a can of semi-gloss acrylic paint. Semi-gloss dries into a hard, shiny shell.
I rolled on two thin coats of semi-gloss paint. I waited two hours between coats. Water droplets bead up on semi-gloss paint and roll right down into the tub.
Step 7: The Dreaded Waiting Period
Paint feels dry to the touch in two hours. But paint needs time to cure and form a waterproof seal.
I stayed away from that shower for three full days. I took cold showers at my local gym on 5th Street instead. It was shivering cold, but it saved my new paint job.
Fixing Exhaust Airflow with Replacement Parts
Your fresh paint will fail again if your room stays full of steam. My old vent fan was way too weak.
I did not want to cut open my ceiling or hire an electrician. Luckily, my local hardware store clerk gave me a great tip. He told me that major fan brands sell simple Replacement Parts for old ceiling units.
I pulled off the plastic cover and unplugged the old fan motor assembly. I found the model number printed on the metal frame. I ordered exact Replacement Parts online for thirty dollars.
Swapping in the new Replacement Parts took me less than ten minutes. I snapped the new motor into the housing and plugged it in. The fan became quiet and powerful instantly. Getting a quick fan motor Replacement solved my steam problem without high costs.
Daily Habits and Wall Maintenance
Smart daily habits keep your bathroom walls looking smooth for years. A little care prevents future Repair work on your home.
Doing a little preventative Repair on small wall scratches keeps moisture from spreading. If you spot a tiny crack in the paint, seal it right away.
Run the Fan Longer
I now turn on my bath fan before I turn on the shower tap. I let the fan run for twenty minutes after I step out.
This clears lingering steam while I dry off and comb my hair. If you forget to turn fans off, install a simple timer switch Replacement on your wall.
Crack the Bathroom Door
I leave the bathroom door open one inch while showering. This pulls cool dry air into the room while the fan pushes steam out.
Wipe Down the Tile
I bought a cheap five-dollar squeegee for my shower glass and tile. I spend thirty seconds wiping water off the tile after every shower.
Sending water down the drain means less water evaporates into the air. Less steam means less stress on your ceiling paint.
Simple Fan Maintenance
Dust clogs exhaust fan grills faster than you think. I now perform basic fan Maintenance twice a year.
I pull off the cover and wash it in warm soapy water. I vacuum dust off the fan blades. Good Maintenance keeps the fan motor running cool and pulling strong.
Quick Bathroom Paint Questions Answered
Can I paint right over peeling paint on my wall? No, you must scrape off all loose paint first. Painting over loose flakes causes the new paint layer to peel right off.
What is the best paint finish for bathroom walls? Semi-gloss or satin finishes are the best choices. They form a hard, non-porous surface that repels water droplets easily.
How long should I wait to shower after painting? Wait at least 48 to 72 hours before taking a steamy shower. Paint needs time to cure completely, not just dry to the touch.
Why does paint peel only right above my shower? That spot takes the direct hit from rising hot steam. It is the wettest area in the room, making paint bonds fail first.
Final Thoughts
Dealing with peeling paint above my shower was a frustrating mess. I felt like a failure on that cold November Tuesday. But learning how moisture moves taught me that paint problems are easy to fix with patience and the right habits.
Take your time to scrape, clean, prime, and paint with semi-gloss latex. Fix your weak exhaust fan and give your fresh paint three days to cure. You will end up with smooth, beautiful walls that can handle every hot shower you take.
Meta Description: Learn why does paint peel off bathroom walls after showering. Here is my practical guide to fixing peeling paint for good.