
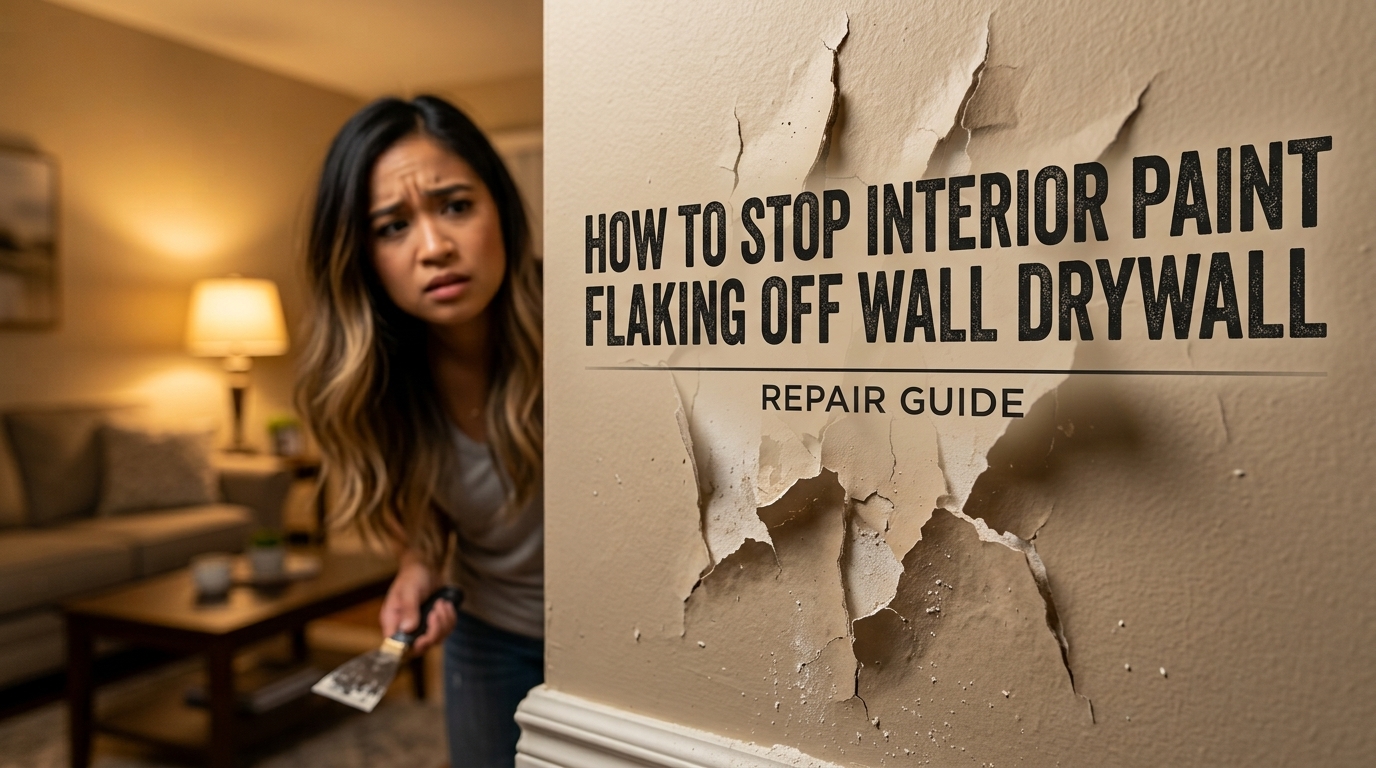
Few things in home maintenance are more frustrating than scraping off a fresh layer of paint because it refused to bond to the drywall beneath it. I learned this the hard way during a weekend renovation project when giant sheets of latex paint began peeling away from my living room wall like plastic wrap.
Table of Contents
Knowing how to stop interior paint flaking off wall drywall requires understanding why the bond failed in the first place. Whether you are dealing with hidden moisture, uncured joint compound, or skipped surface prep, fixing flaking drywall paint permanently comes down to applying the right surface techniques and durable replacement parts for damaged areas.
Why Paint Flakes Off Interior Drywall Surfaces
Paint does not peel without a reason. When interior wall paint fails, it usually points to a breakdown between the topcoat, the primer, and the porous paper layer of the drywall.
Hidden Moisture and High Humidity
Moisture is the primary enemy of interior paint adhesion. In bathrooms, kitchens, or basements, trapped water vapor works its way through porous drywall sheets. As vapor pushes outward, it breaks the adhesive bond, forcing paint to bubble and flake off.
Skipping Drywall Primer
Applying latex or oil-based paint directly over fresh joint compound or bare drywall paper is a recipe for failure. Joint compound absorbs moisture unevenly, drawing liquid out of the paint before proper adhesion occurs. Without a dedicated PVA drywall primer, the finish coat sits loosely on top of fine dust.
Uncleaned Dust and Surface Contaminants
Sanding wall joint compound creates microscopic dust that settles into every crevice. Painting directly over this dust creates a temporary bond with the powder rather than the actual wall. Over time, normal room vibrations and humidity shifts cause the layer to lift away.
Step-by-Step Fix to Stop Paint Flaking Permanently
Taping over flaking paint or painting directly over peeling edges never lasts. To achieve a smooth, professional surface that lasts for years, you need a methodical repair approach.
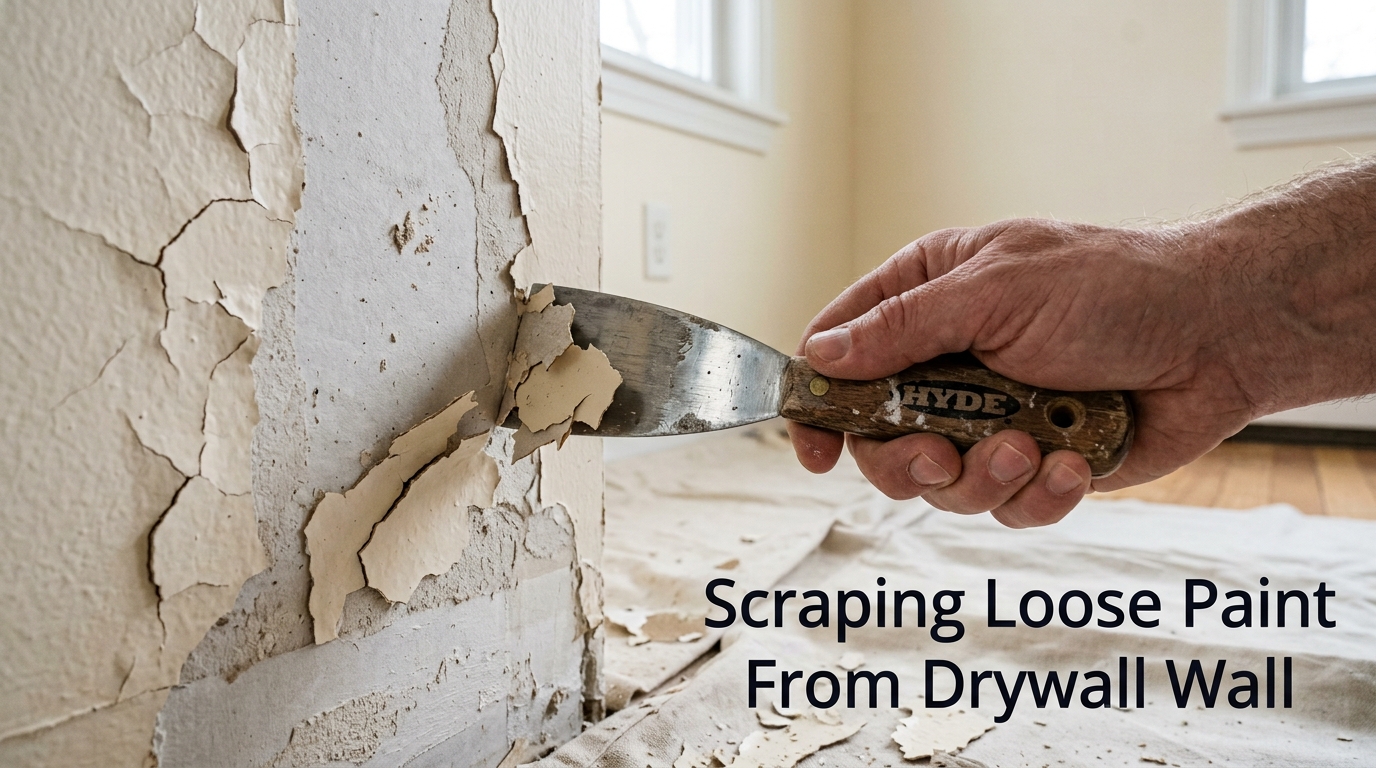
1. Scrape Away Every Loose Flake
Start by using a flexible putty knife or a firm scraper to remove all unstable paint. Scrape outward from the damaged area until you hit paint that firmly resists the blade. If you stop scraping prematurely, the old paint will continue peeling under your fresh coat.
2. Sand and Feather the Edges
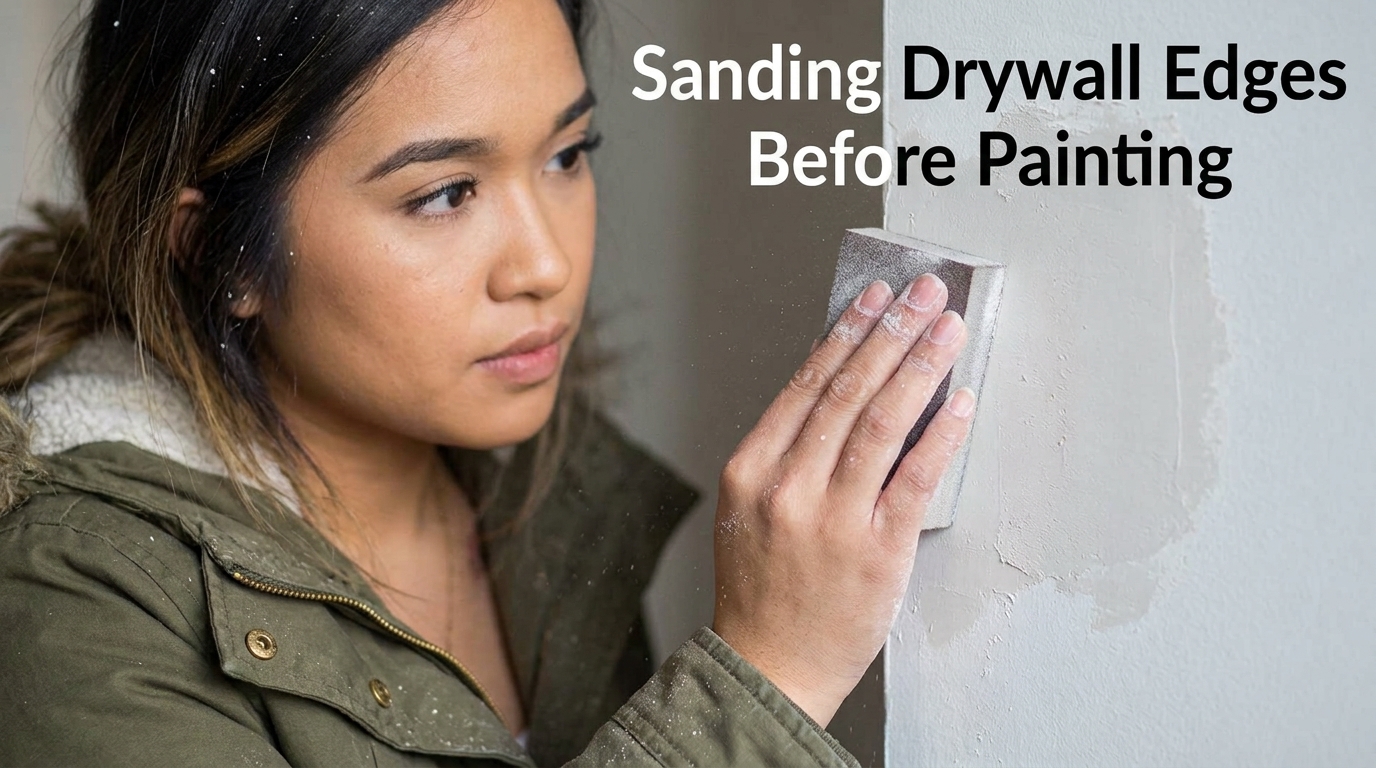
Once the loose material is gone, use 120-grit sandpaper to smooth out the hard ridge between the bare drywall and the remaining paint. Feathering this edge prevents visible outlines from showing through your final finish coat.
3. Repair Damaged Drywall Paper and Joints
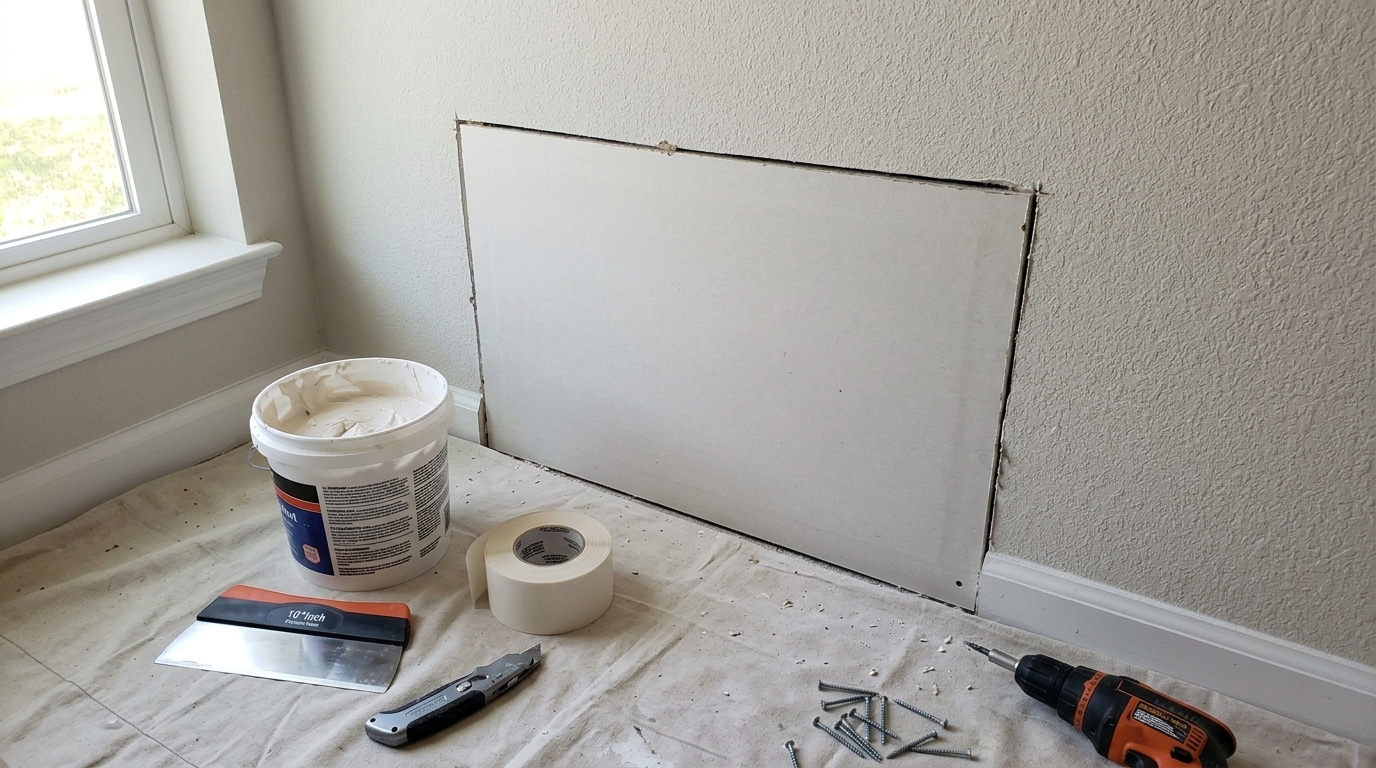
If peeling paint tore into the paper surface of the drywall, apply a thin coat of lightweight joint compound to level the surface. For deeper wall damage or crumbled sections around outlets, installing small drywall patching replacement parts ensures structural integrity before applying new compound.
4. Apply a Dedicated Primer
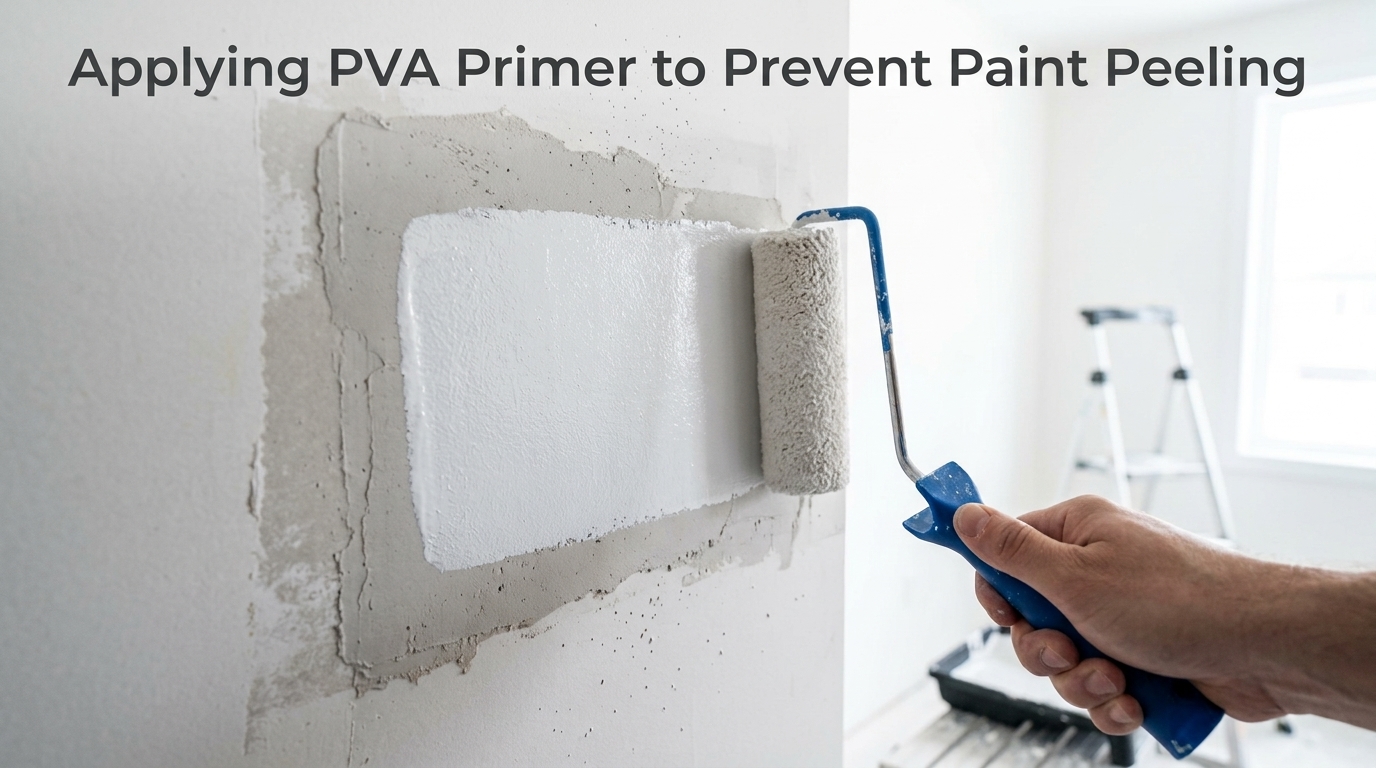
Never skip the sealing step. Apply a high-quality PVA or stain-blocking primer over all exposed drywall, patched compound, and sanded paint edges. Primer acts as a glue, bonding deeply into the porous wall while creating a uniform base for your topcoat.
5. Repaint with Quality Interior Paint
Apply two coats of premium interior latex paint using a medium-nap microfiber roller. Allow proper drying time between coats to let the paint cure fully.
Common Prep Mistakes That Cause Paint Failure
Through trial, error, and plenty of extra scraping, I discovered that most paint flaking comes down to small prep oversights that seem harmless at the time.
- Rushing the Drywall Compound Drying Time: Applying paint over damp spackle traps moisture inside the wall, causing immediate bubbling.
- Wiping Walls with a Wet Sponge: Excess water breaks down water-soluble joint compounds and leaves moisture trapped in the paper backing.
- Ignoring Temperature Changes: Painting in cold or excessively humid rooms prevents latex molecules from fusing properly during drying.
Essential Maintenance Tools and Materials for Lasting Repairs
Having the right tools on hand makes the difference between a temporary patch and a permanent fix.
Quality Primers vs. Paint-and-Primer Combos
While combination products work fine for simple color updates over sound surfaces, they fail on bare, damaged drywall. Always use a standalone drywall primer when repairing peeling sections to guarantee long-term adhesion.
Essential Patching Hardware
When wall damage extends beyond cosmetic peeling, keeping drywall repair clips, mesh tape, and drywall wall patch replacement parts nearby lets you complete seamless structural repairs before opening a paint can.
Frequently Asked Questions
Can I just paint over flaking drywall paint?
No, painting over flaking paint will cause the new layer to peel off as the old underlying paint continues to lose adhesion.
Why is paint peeling off my drywall in sheets?
Paint peels in large sheets when it fails to bond to the wall, usually caused by painting over dust, moisture, or unprimed joint compound.
Do I need to sand bare drywall paper before priming?
Lightly sand joint compound, but avoid aggressive sanding on bare drywall paper to prevent fuzzy fibers from ruining your paint finish.
Final Thoughts
Dealing with peeling paint on interior drywall is frustrating, but fixing it does not require hiring a professional painter. The key is understanding that paint is only as strong as the surface directly beneath it. Skipping steps like dust cleanup or priming might save an hour today, but it guarantees more work down the road.
Taking the time to scrape back to a solid layer, repair damaged compound, and apply a dedicated sealer will stop flaking for good. Once you master proper surface prep, your interior walls will maintain a smooth, durable finish that withstands daily home life.