
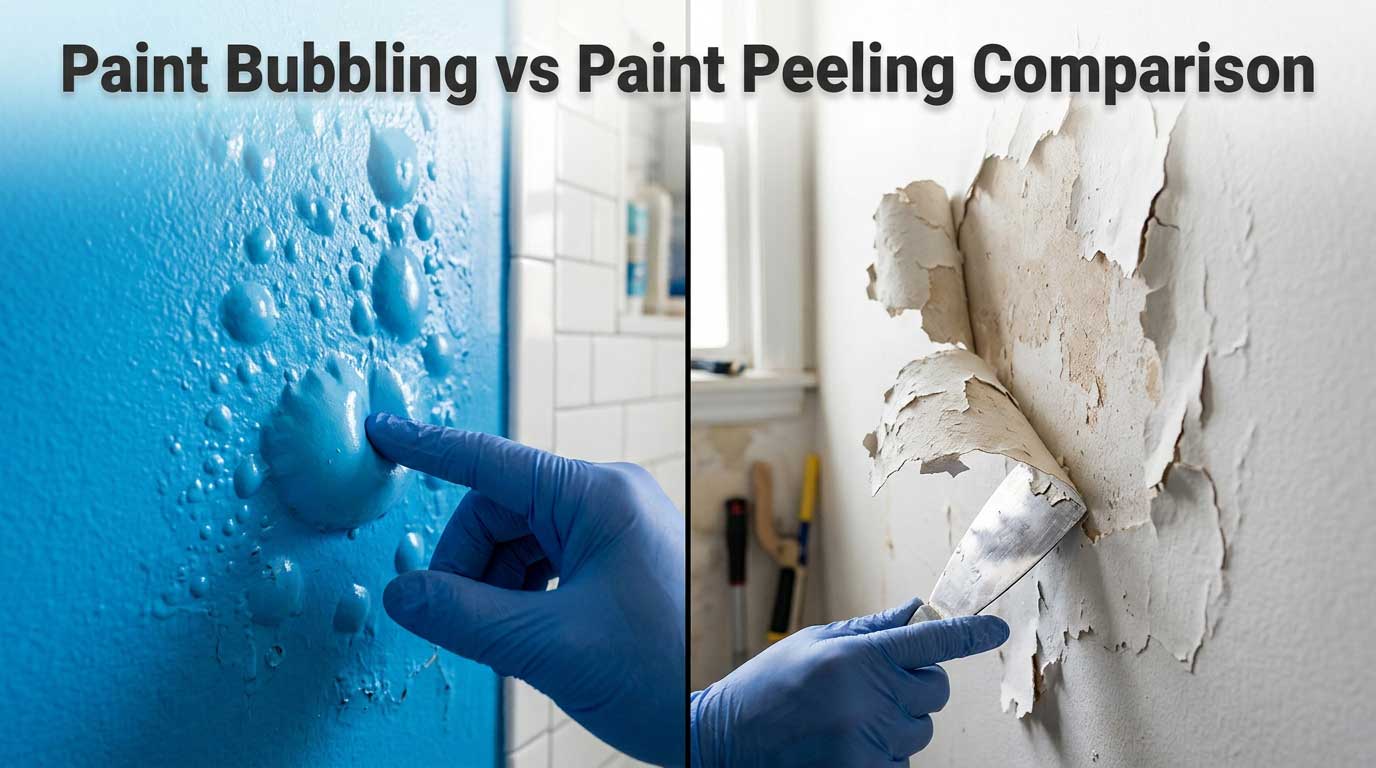
I remember staring at my bathroom wall in total defeat. I had just painted the room two weeks prior. Now, strange pockets of air were lifting the fresh color right off the drywall. It looked terrible. I did not know what went wrong. I assumed I just bought bad paint. But I was very wrong.
Table of Contents
That experience forced me to learn the real difference between paint bubbling and paint peeling. These two issues look related, but they are completely completely different problems. They happen for different reasons. They also require different fixes. If you treat a bubble like a peel, the problem will just come back. In this guide, I will share exactly what I learned so you can fix your walls the right way.
What I Learned the Hard Way About Failing Paint
When I first started doing my own home projects, I rushed the prep work. I just wanted to see the final color on the wall. I did not want to clean. I did not want to sand.
I paid the price for that laziness. My walls started failing almost immediately. I spent more time fixing my mistakes than I did painting the room. I had to learn the hard way that paint is actually very sensitive. It needs a perfect surface to stick to. If it does not get that surface, it will rebel.
Identifying the Warning Signs Early
You can usually tell a paint job is going to fail before it actually falls off the wall. You just have to know what to look for. Sometimes, the paint looks dull in certain spots. Other times, you might see tiny hairline cracks forming near the baseboards.
These small signs mean the paint is losing its grip. If you catch these signs early, you can start your Troubleshooting process before the damage spreads. You might just have a small moisture leak. Or you might have painted over a greasy spot. Finding the cause early saves you a massive headache later.
What Does Paint Bubbling Actually Look Like?
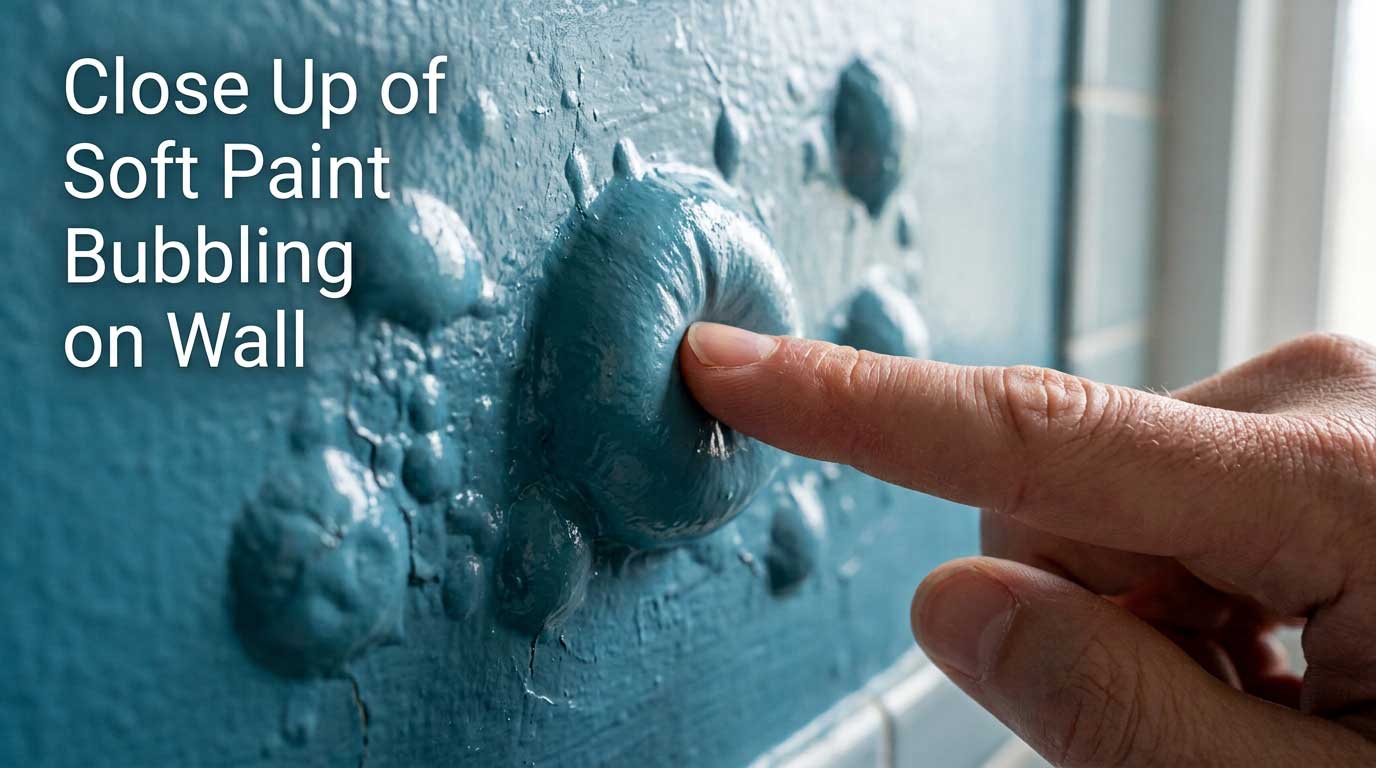
Paint bubbling is also known as blistering. It looks exactly like it sounds. Small, raised bumps appear under the surface of the paint. They look like little balloons or blisters on your skin.
If you press on a paint bubble, it usually feels soft. Sometimes it feels hollow. If you press too hard, it will pop. When it pops, you will often find moisture or plain drywall underneath. Bubbles can range in size. Some are as small as a pimple. Others can be as large as a dinner plate.
The Hidden Traps Under the Surface
So, why does paint bubble? It almost always comes down to moisture or heat. When I ruined my bathroom paint job, it was because of steam. I took a hot shower before the paint was fully cured.
The moisture from the steam got trapped. The heat caused the paint to expand and lift away from the wall. This created pockets of air and water. This is why bathrooms and kitchens are notorious for bubbling paint. Another common cause is painting over damp wood. The moisture tries to escape, and it pushes the paint outward. Proper Maintenance of your bathroom exhaust fan can prevent this. If the fan is broken, you need to fix it. Do not wait to order Replacement Parts for your ventilation system. Keep the air moving.
Why Does Paint Peel Off in Sheets?
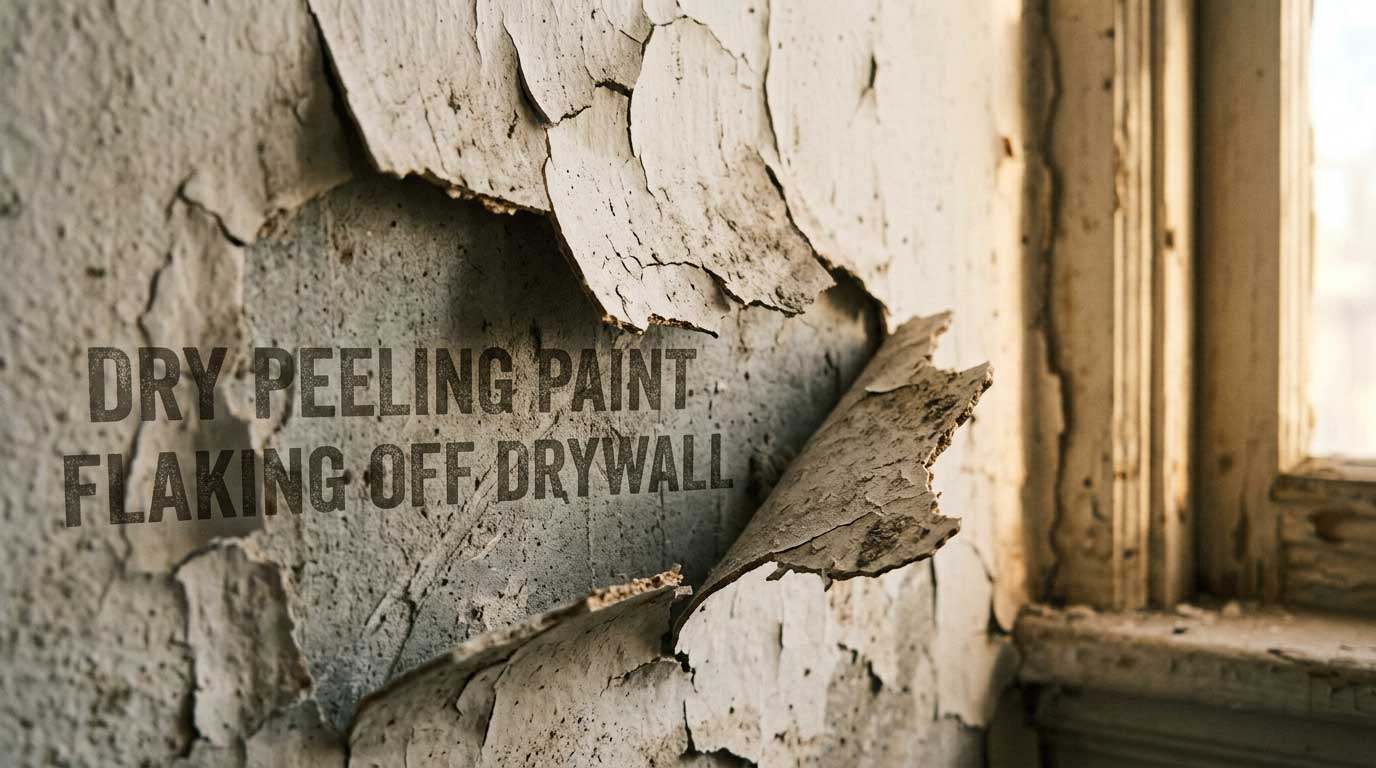
Peeling paint is a totally different beast. Unlike a bubble that lifts in one specific spot, peeling paint flakes off in dry, brittle pieces. It looks like a terrible sunburn peeling away.
Sometimes, peeling starts as a small crack. Then, the edges curl outward. Eventually, large strips of paint will just fall off the wall. You might wake up and find paint chips on your floor. Peeling paint feels dry to the touch. It snaps and crumbles when you bend it.
The Long-Term Effects of Poor Adhesion
Peeling paint is caused by bad adhesion. The paint simply did not stick to the surface. This happens for a few common reasons. The most common reason is a dirty wall.
If you paint over dust, dirt, or grease, the paint sticks to the dirt, not the wall. When the dirt falls away, the paint goes with it. Proper Cleaning is the only way to stop this. Another big reason is skipping the primer. Primer acts like glue. It binds the topcoat to the drywall. If you skip primer on a bare wall, the paint will peel. It is just a matter of time.
The Core Difference Between Paint Bubbling and Paint Peeling
Let us break down the main difference between paint bubbling and paint peeling. It helps to look at them side by side.
Bubbling is caused by an external force pushing the paint away. That force is usually trapped moisture, trapped heat, or trapped solvents. The paint actually bonded properly at first. But the trapped elements pushed it off from the inside.
Peeling is caused by a lack of bond from the very beginning. The paint never stuck right. It dried, hardened, and then lost its weak grip. It flakes off because it has nothing to hold onto.
It Always Comes Down to the Root Cause
Understanding this difference is crucial for your Troubleshooting efforts. If you have bubbles, you need to find the source of the moisture or heat. Is there a leaky pipe? Is the room too humid? Did you paint in direct sunlight?
If you have peeling, you need to look at your surface prep. Did you wash the wall? Did you use the right primer? Did you paint oil-based paint over latex paint without sanding? The visual clues tell you exactly what mistakes were made.
How I Fix Paint Bubbles Before They Burst
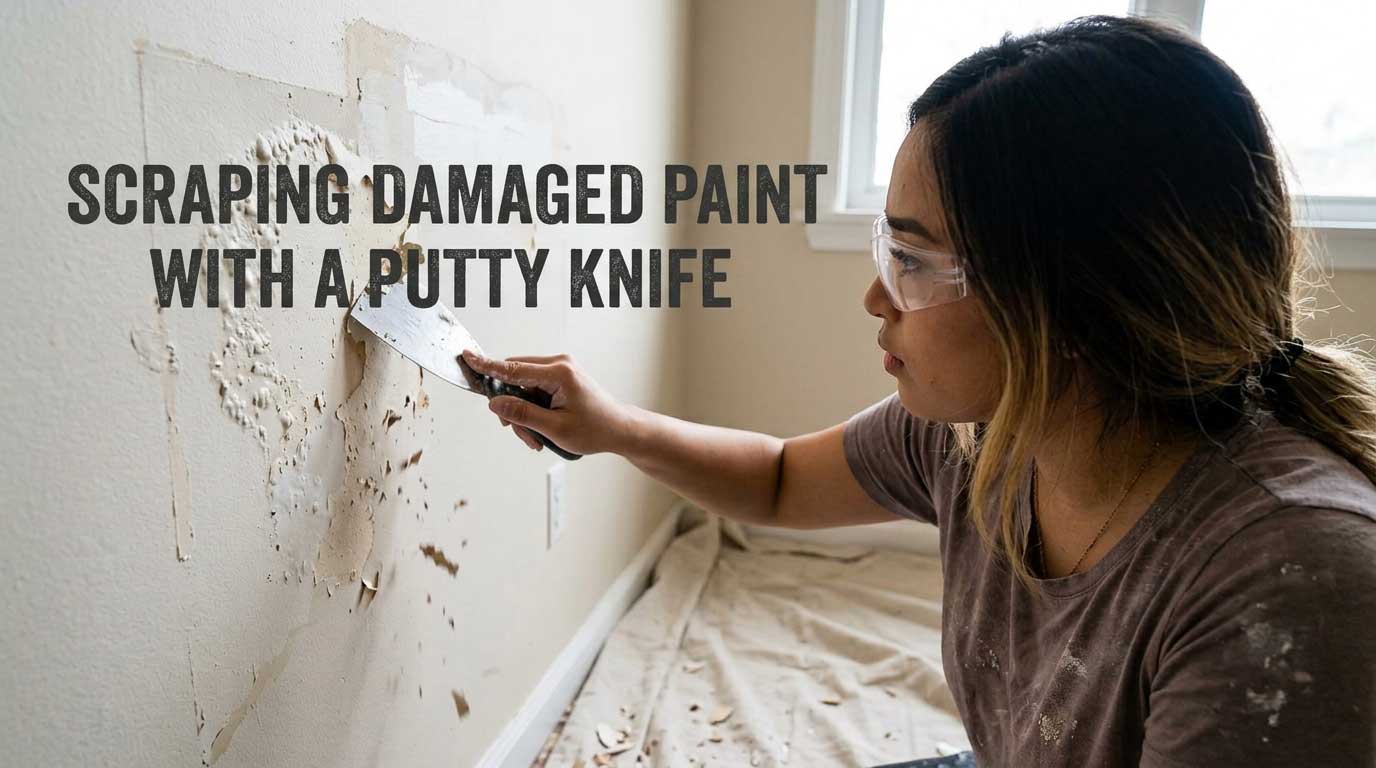
Fixing paint bubbles takes patience. You cannot just paint over a bubble. The new paint will just bubble up again. You have to remove the problem completely.
First, I wait for the wall to dry completely. If there is a moisture leak, I fix the leak first. There is no point in doing a Repair if the wall is still wet. Once everything is dry, I take a sharp putty knife. I carefully scrape the bubble away. I remove all the loose paint until I reach edges that are firmly attached to the wall.
The Right Tools for the Job
After I scrape the bubble, I have a shallow hole in the wall. I cannot just paint over this dip. I have to level it out.
I use a high-quality spackling compound. I spread a thin layer over the hole with my putty knife. I let it dry completely. Then, I take fine-grit sandpaper and sand it smooth. I run my hand over the patch. If I can feel a bump, I keep sanding. I always wipe away the sanding dust. Finally, I apply a good stain-blocking primer. Once the primer dries, I paint over it. The bubble is gone forever.
My Process for Fixing Peeling Paint
Fixing peeling paint is a much larger job. When paint starts peeling, it usually means the entire wall was prepped poorly. You cannot just fix one small spot.
I start by laying down drop cloths. Peeling paint makes a huge mess. I put on safety glasses and a dust mask. Then, I grab my paint scraper. I start scraping the peeling edges. I scrape until the paint stops flaking. Sometimes, this means I have to scrape an entire wall. It is tiring work, but it is necessary. If I leave any loose edges, the new paint will fail.
Why Proper Wall Prep Changes Everything
Once the loose paint is gone, I have to deal with the edges. The spots where the old paint meets the bare wall will leave a ridge. I use a sanding block to smooth these ridges out completely.
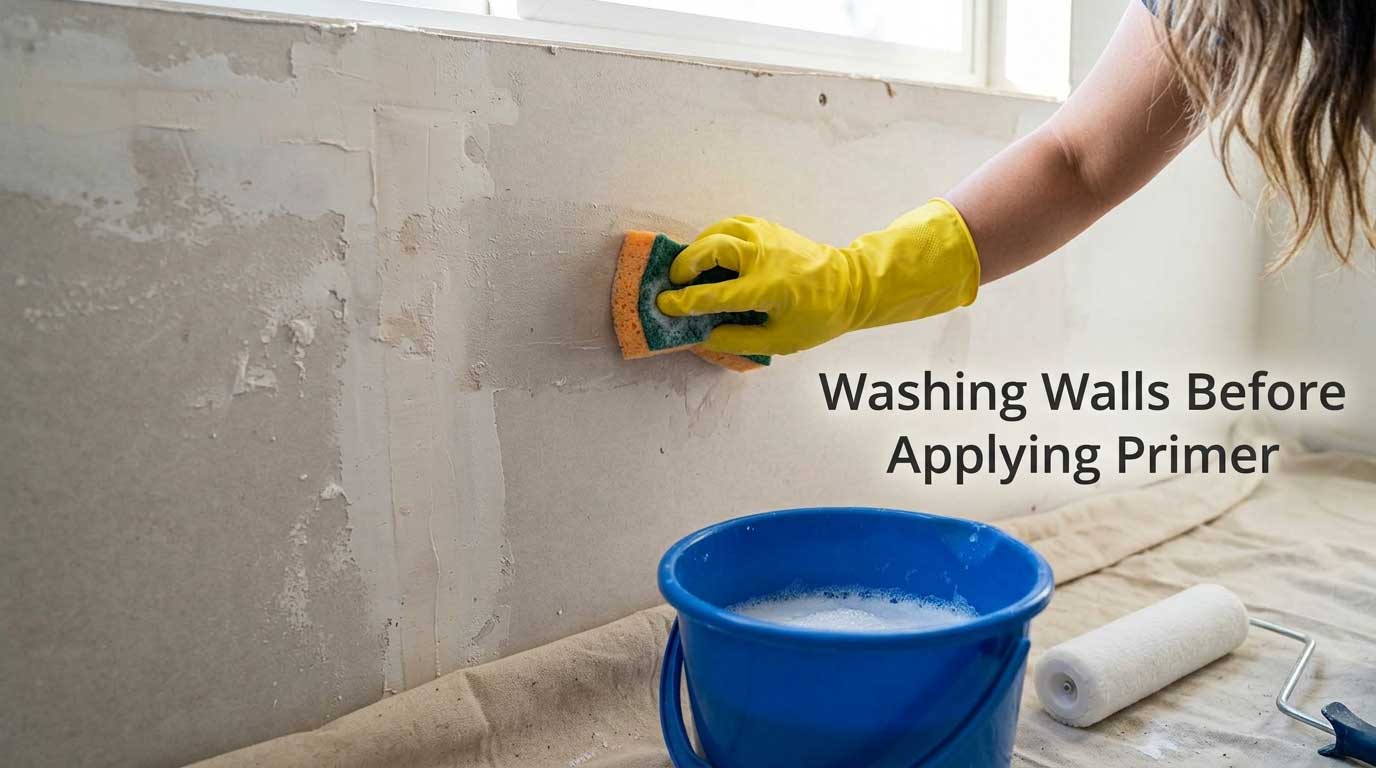
Next comes the most important step. Thorough Cleaning of the entire wall. I use a sponge and a mild degreaser. I wash away all the sanding dust, old dirt, and leftover grease. I rinse the wall with clean water and let it dry. Then, I apply a premium bonding primer to the entire wall. Primer creates a fresh, sticky slate. Only then do I apply my final coats of paint.
Common Painting Mistakes That Cause Both Issues
Over the years, I have made almost every painting mistake in the book. I have ruined good brushes. I have ruined expensive paint. I have even broken my paint sprayer and had to buy Replacement Parts for the motor.
But the biggest mistakes always happen before the brush even touches the wall. Painting is ninety percent preparation and ten percent application. When you rush the boring parts, the exciting parts fail. Both bubbling and peeling can be avoided if you just slow down and follow basic rules.
Rushing the Prep Work
I used to hate prepping. I just wanted to paint. But skipping the prep work is the fastest way to ruin a room.
You must wash your walls. You must let them dry. You must sand glossy surfaces so the new paint has a texture to grab onto. You must fix holes and cracks. Routine Maintenance of your walls before you paint makes the actual painting go much faster. If you try to cut corners here, you will pay for it later. You will spend your weekends scraping instead of relaxing.
Using the Wrong Paint for the Room
Another huge mistake is using the wrong product for the environment. You cannot use flat ceiling paint in a humid bathroom. It will absorb moisture and bubble.
You need to match the paint to the room. Bathrooms need satin or semi-gloss paints that resist mildew and moisture. Kitchens need durable paints that can handle grease and frequent scrubbing. Exteriors need weather-resistant paints that can expand and contract with the temperature. Reading the label on the paint can save you from a major Repair job down the road.
The Tools You Need to Do It Right
Having the right tools makes a massive difference. You do not need to buy the most expensive gear. But you do need tools that actually work.
A stiff putty knife is essential for scraping. A flexible taping knife is great for spreading spackle. You need a sanding sponge with an angled edge to get into corners. Good quality painter’s tape is a must. Cheap tape lets paint bleed underneath and ruins your straight lines.
Keeping Your Gear in Good Shape
If you take care of your tools, they will last for years. I clean my brushes immediately after I finish painting. I never let them sit in the sink.
If I use my paint sprayer, I run clean water through it until it sprays clear. If a nozzle clogs and breaks, I do not throw the whole sprayer away. I just order Replacement Parts online. A new tip or a new filter is cheap. Regular Cleaning of your gear ensures it is ready to go the next time a wall needs fixing. Proper care saves money and frustration.
The Role of Weather in Paint Failures
Weather is a sneaky enemy of fresh paint. This is true for both indoor and outdoor painting.
If you paint outside on a very hot day, the top layer of paint dries too fast. The bottom layer stays wet. The trapped wet solvents turn into gas and push outward. This creates massive heat blisters. If you paint when it is too cold, the paint will not cure properly. It will just dry into a fragile film that peels off a week later.
Managing Indoor Climate Control
Indoor climate matters just as much. I never paint a bathroom while someone is taking a shower in the next room.
I keep the air conditioning on to keep humidity low. I open windows to let fumes escape. I use fans to circulate the air. However, I never point a strong fan directly at a wet wall. That can force the paint to dry unevenly. Finding the right balance of temperature and airflow is part of the Troubleshooting process for a perfect finish.
Quick Answers to Common Paint Problems
Can I just paint over peeling paint?
No, you cannot. The old peeling paint will continue to fall off, taking your new fresh paint right with it.
How long should primer dry before painting?
Always check the can, but usually, it needs at least two to four hours. Rushing this step causes the topcoat to mix with wet primer and fail.
Does high humidity cause paint to bubble?
Yes, high humidity slows down drying times and traps moisture under the paint layer. This leads directly to soft air bubbles on the wall.
What is the best way to clean a wall before painting?
Mix warm water with a few drops of dish soap or use a TSP substitute. Wipe the walls down lightly and let them dry completely before priming.
Can I sand paint bubbles flat?
No, sanding a wet or soft bubble will just tear the paint and make a gummy mess. You must scrape it off entirely with a putty knife first.
Final Thoughts
Learning the difference between paint bubbling and paint peeling completely changed how I tackle DIY projects. It removed the mystery. When a wall looks bad, I no longer panic. I just look closely at the damage. If it is raised and soft, I know I have a moisture or heat issue. If it is dry and flaky, I know I have an adhesion problem.
Painting a room should be a fun and rewarding process. It completely transforms a space for very little money. But you have to respect the process. Clean your walls. Use good primer. Control your humidity. If you take the time to do the prep work right, your paint will look beautiful and stay flat against the wall for years to come. Take your time, do it right, and enjoy your freshly painted room.