
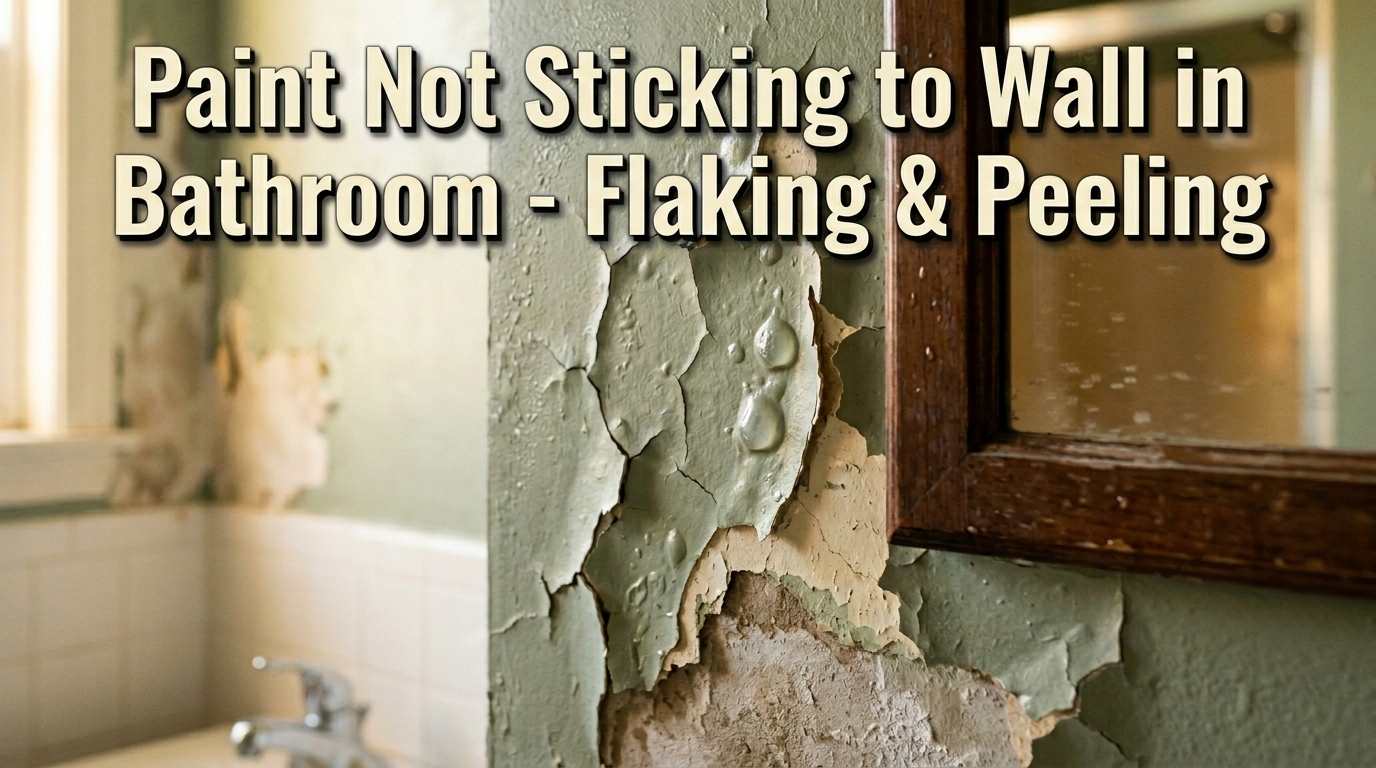
It was a muggy Thursday night in Atlanta. I stood barefoot on cold bathroom tiles, holding a lukewarm mug of black tea. I was admiring my fresh, sage-green walls. Suddenly, a strange sound filled the small room. It sounded like wet plastic pulling off tape. I looked up in horror. A huge strip of fresh latex paint was sloughing off the drywall. It fell with a dull plop right into my toilet bowl. If you are dealing with paint not sticking to wall in bathroom spaces, I know that awful feeling.
I had spent three full days painting that small room. My in-laws were arriving on Saturday morning. Yet my brand-new walls looked like a molting snake. I sat on the porcelain tub edge and rubbed my tired eyes. My wife walked by, looked at the green ribbon sitting in the toilet bowl, and chuckled. Once I got past the embarrassment, I made it my goal to fix it. Here is what went wrong, what I learned about steamy walls, and how I solved it for good.
Table of Contents
Why Paint Stops Sticking to Bathroom Walls
Bathrooms are brutal on fresh paint coats. They are small, tight, and trap heat quickly. Every time someone takes a hot shower, the room turns into a damp steam box. That moisture searches for every weak spot on your walls.
Invisible Soap Scum and Hairspray Film
My walls looked clean when I started. They were plain white drywall. But when I dragged my dry palm over the wall near the mirror, my skin stuck. It felt tacky, like dried soda syrup on a counter. That was my first big lesson.
Every single morning, we use hairspray, body mist, and dry shampoo. Those fine mists float around the room. They settle on the drywall and dry into an oily, slick film. Soap scum also builds up on the walls near the tub.
If you roll fresh paint over that greasy barrier without deep Cleaning, the new coat cannot grab the wall. It just floats on top like a sheet of plastic wrap. The moment steam fills the room, that paint loses its grip and peels off in sheets.
The Hidden Danger of Trapped Moisture
Moisture is the ultimate enemy of fresh latex paint. When warm steam gets behind a fresh layer, it breaks the chemical bond. The paint softens up from the inside out. Soon, you will see small bubbles form near the shower surround.
If your drywall had moisture inside it before you painted, you are in big trouble. Moisture gets trapped under the topcoat with nowhere to escape. It builds up pressure until the outer paint skin pops, bubbles, and peels away in long strips.
Big Mistakes I Made on My Weekend Project
I am usually a quick worker when I do home fixes. I like fast results so I can relax on Sundays. But when you rush a bathroom project, you end up doing the work twice. I made three major mistakes that ruined my original job.
Skipping Proper Surface Cleaning
I did not want to scrub the walls. Washing drywall sounded boring and tedious. I just took an old washcloth from the hamper, wiped the dust off, and started painting. That was a huge mistake.
A dry washcloth only moves dust around. It does not strip away body oil, hairspray, or dried soap scum. Thorough Cleaning with a real degreaser like TSP is mandatory. Without proper Cleaning, your new paint will never stick to the wall.
Using Paint and Primer Combos in Damp Rooms
I bought a cheap bucket of “paint and primer in one” from the home center. The label promised quick work, and the price was low. The store associate said it was fine, so I trusted the label.
Combo paint products work great in a dry bedroom or hallway. But they fail in high-moisture rooms. A damp bathroom needs a dedicated bonding primer coat. Real primer acts like strong tape, giving your topcoat a rough surface to grip.
Step-by-Step Troubleshooting for Flaking Walls
After my green paint peeled into the toilet, I took a deep breath and grabbed my tool belt. Systematic Troubleshooting is the only way to save a damaged bathroom wall. You cannot just paint over loose edges and hope for the best.
Scraping Away All Loose Layers
I grabbed a stiff metal putty knife from my garage. I pushed the flat edge under a peeling flap near the vanity. A huge sheet came off with a crisp, crunchy sound. White paint dust flew into the air and coated my nose and black shirt.
You must scrape off every single piece of paint that feels loose. Do not pull the strips with your fingers. Pulling can tear the top paper layer right off the drywall board. Stop scraping only when your knife hits paint that holds firm to the wall.
Sanding Flat for a Seamless Repair
Scraping leaves deep, sharp ridges across your wall surface. If you paint right over those rough spots, every edge will show. Your finished wall will look like a bumpy map full of craters.
I took a sheet of 120-grit sandpaper and wrapped it around a wooden block. My arm burned as I sanded the hard edges flat. I sanded until I could run my bare fingers across the line without feeling a bump. Smooth edges are critical for a seamless Repair.
Fixing the Ventilation System
On Friday afternoon, I turned my attention to the ceiling vent fan. I flipped the switch on. The fan made a loud, angry buzzing sound, but it did not move any air. I held a single square of toilet paper up to the plastic vent. It dropped straight to the floor.
Replacing Broken Parts in the Exhaust Fan
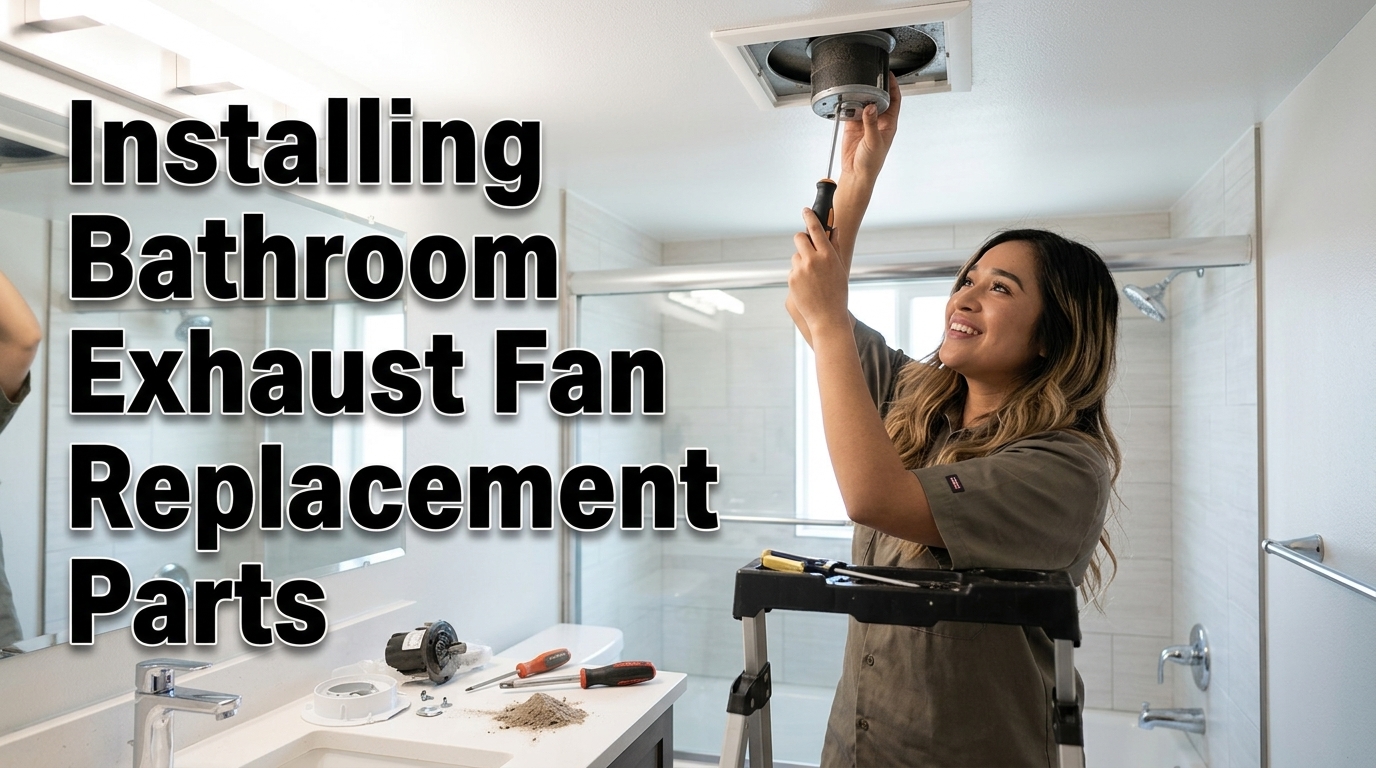
I pulled the plastic vent cover off the ceiling. A giant clump of gray dust fell right into my mouth. I coughed, wiped my face, and looked inside with a flashlight. The plastic fan blades were stuck, and the motor was black with burnt grease.
I went online, typed in the model code, and bought fresh Replacement Parts for under twenty dollars. Buying those Replacement Parts was the smartest move I made all week.
Installing the new motor took ten minutes with a basic screwdriver. I flipped the wall switch, and the motor hummed quietly. The vent sucked the toilet paper square flat against the screen. Now the steam had a real escape path out of the room.
Picking a Semi-Gloss Sheen That Repels Steam
I had originally picked a matte finish because I liked the modern, flat look. That was another major error on my part. Flat paint is porous and absorbs water drops like a sponge.
For bathrooms, you should always choose a semi-gloss or satin sheen. These paints dry into a hard, slick shell. Water drops cannot soak into the surface. Instead, they form tiny beads and roll harmlessly down into the tub basin.
How to Repaint So the Finish Sticks Forever
By Saturday afternoon, my bathroom walls were bare, smooth, and clean. The small room smelled like isopropyl alcohol and fresh drywall dust. I was finally ready to paint the room the right way.
Rolling on a Deep Moisture-Blocking Primer
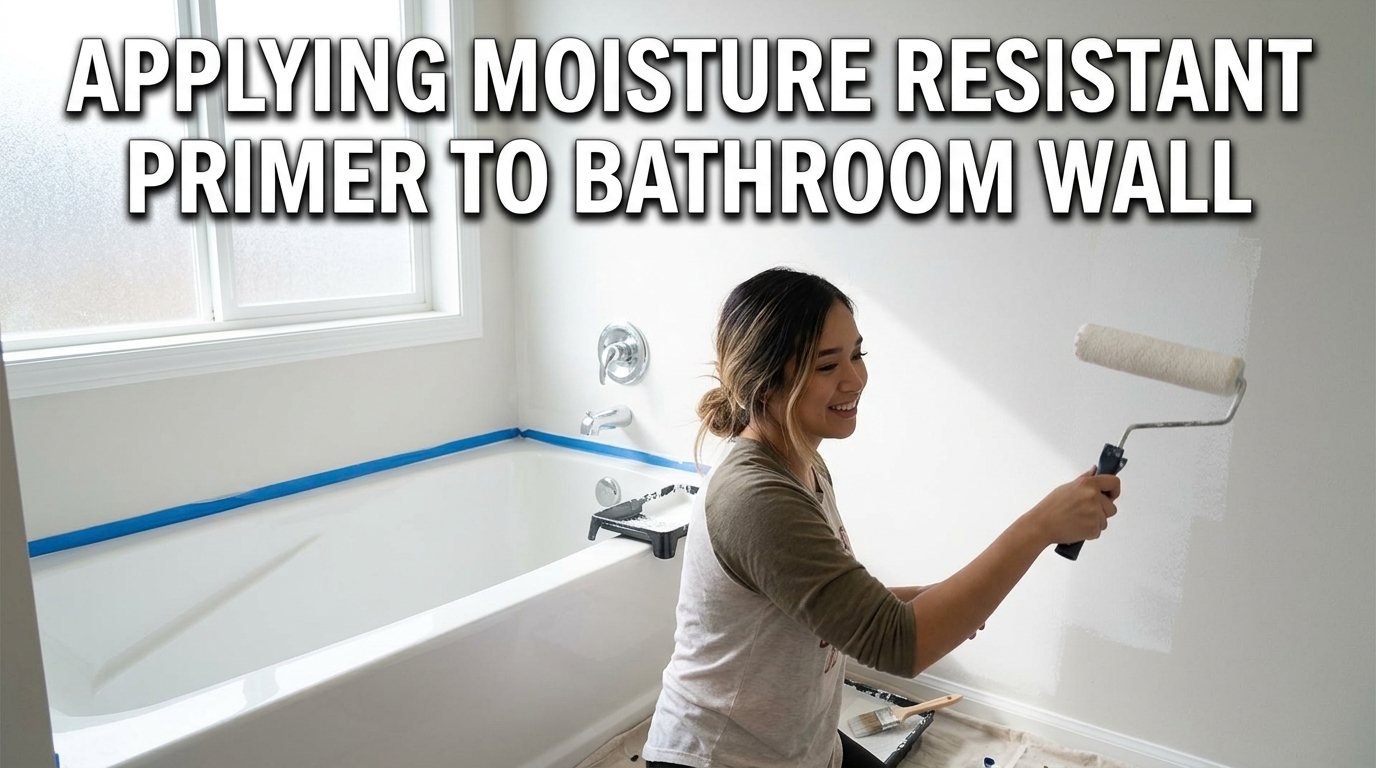
I bought a can of dedicated, stain-blocking bonding primer. I opened the window, turned on my fixed exhaust fan, and put on a dust mask. I rolled one thin, even layer over the entire room, covering all bare drywall spots.
I let that primer coat dry for 24 full hours. I placed a strip of blue tape over the light switch so no one would turn the shower on. I did not let anyone open the bathroom door until Sunday morning.
Applying Thin Coats and Allowing Full Cure Time
On Sunday, I opened a new can of semi-gloss green paint. I kept my coats very light. Thick paint coats trap liquid underneath and take weeks to dry properly.
I applied one light coat, waited four hours, and rolled a second coat. The room looked incredible. But drying is not curing. Paint takes up to two weeks to fully harden. I made my family use the basement shower for five full days so the paint could cure into a tough shield.
Simple Maintenance Habits to Prevent Future Peeling
It has been two years since that messy Thursday night in Atlanta. My bathroom walls still look smooth, sharp, and fresh. Not a single bubble or flake has formed above the shower surround.
Simple daily Maintenance keeps your paint job looking great for years. You do not need expensive tools or hard work. You just need a few good, easy habits.
Running the Fan Before and After Showers
We have a strict rule in our home now. Turn the vent fan on before turning the hot water tap on.
I also installed a simple wall timer switch. When you finish your bath, you press the 20-minute button. The fan runs while you dry off and turns off on its own. This easy Maintenance habit removes heavy humidity before it can hurt your walls.
Wiping Down High-Aerosol Zones Monthly
Every month, I take a damp microfiber cloth and wipe down the wall near the mirror and towel rack. I wipe away small bits of hairspray, toothpaste, and soap before they can build up into a thick film.
Keeping the wall surface free of grease prevents chemical breakdown over time. It protects your hard work and keeps your bathroom looking like new with zero effort.
Frequently Asked Questions About Bathroom Paint Failure
Can I just paint right over peeling paint on a bathroom wall? No, you should never paint over loose paint. The new coat will shrink as it dries, pulling the old loose layers right off the wall and leaving a bigger mess.
How long should I wait to take a shower after painting? Wait at least 48 to 72 hours before running a hot shower. Your new paint needs time to cure completely so it can build a tough, waterproof seal against steam.
Why is my paint bubbling right near the ceiling? Hot steam rises to the top of the room. If your ceiling fan needs Replacement Parts, that trapped vapor collects at the ceiling line and breaks the paint bond.
What is the best way to start troubleshooting a flaking wall? Effective Troubleshooting starts with a stiff metal scraper. Gently scrape away all loose paint edges until you reach a solid layer that grips the drywall board tightly.
Do I need to sand the whole wall for a good repair? No, you do not need to sand the entire room down to drywall. For a smooth Repair, sand only the rough ridges where you scraped off the loose flakes.
How does dirty drywall stop fresh paint from sticking? Hairspray and soap form a greasy film on the wall. Without thorough Cleaning, the fresh paint sits on top of that slick oil instead of bonding to the drywall.
Final Thoughts
Dealing with paint not sticking to wall in bathroom spaces taught me a huge lesson in prep work. I spent three exhausting weekends fixing my original mistake, but my walls have been peel-free ever since.
Take your time with prep work. Wash your walls thoroughly, fix your exhaust fan, and let your primer dry completely. A little extra care today will save you from scraping wet paint out of your toilet bowl tomorrow.
Meta Description: Is paint not sticking to wall in bathroom spaces? Here is how I fixed peeling paint using easy prep steps, good primer, and fan repairs.