
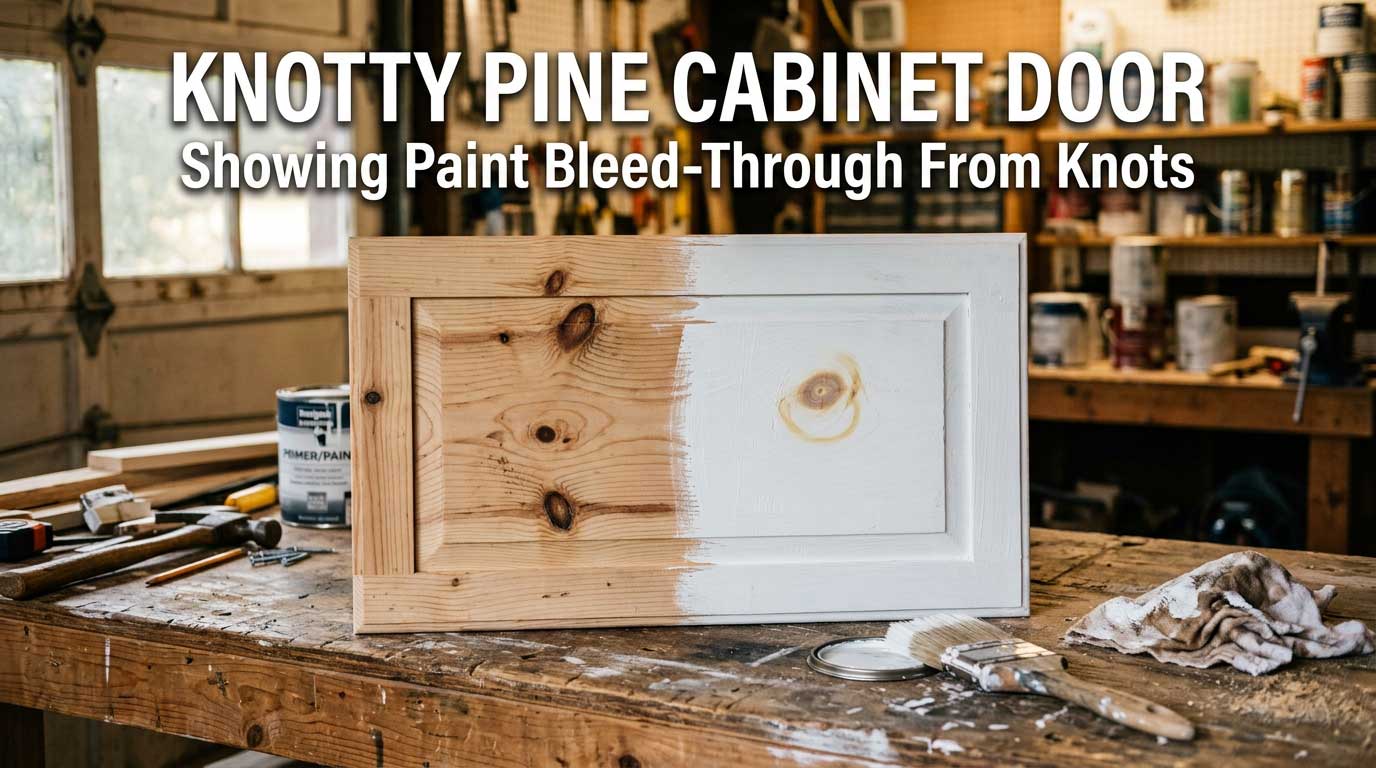
I learned how to stop knotty pine from bleeding through paint the hard way. I primed a set of cabinet doors. I painted them white. I walked away happy. Two weeks later, every knot came back through the paint. It looked like a bad tattoo showing through skin.
If that sounds familiar, you’re in the right place. This isn’t a copy-paste guide. It’s what worked for me, what wasted my time, and what I’d tell a friend before they pick up a brush.
Why Knotty Pine Fights Back Against Paint
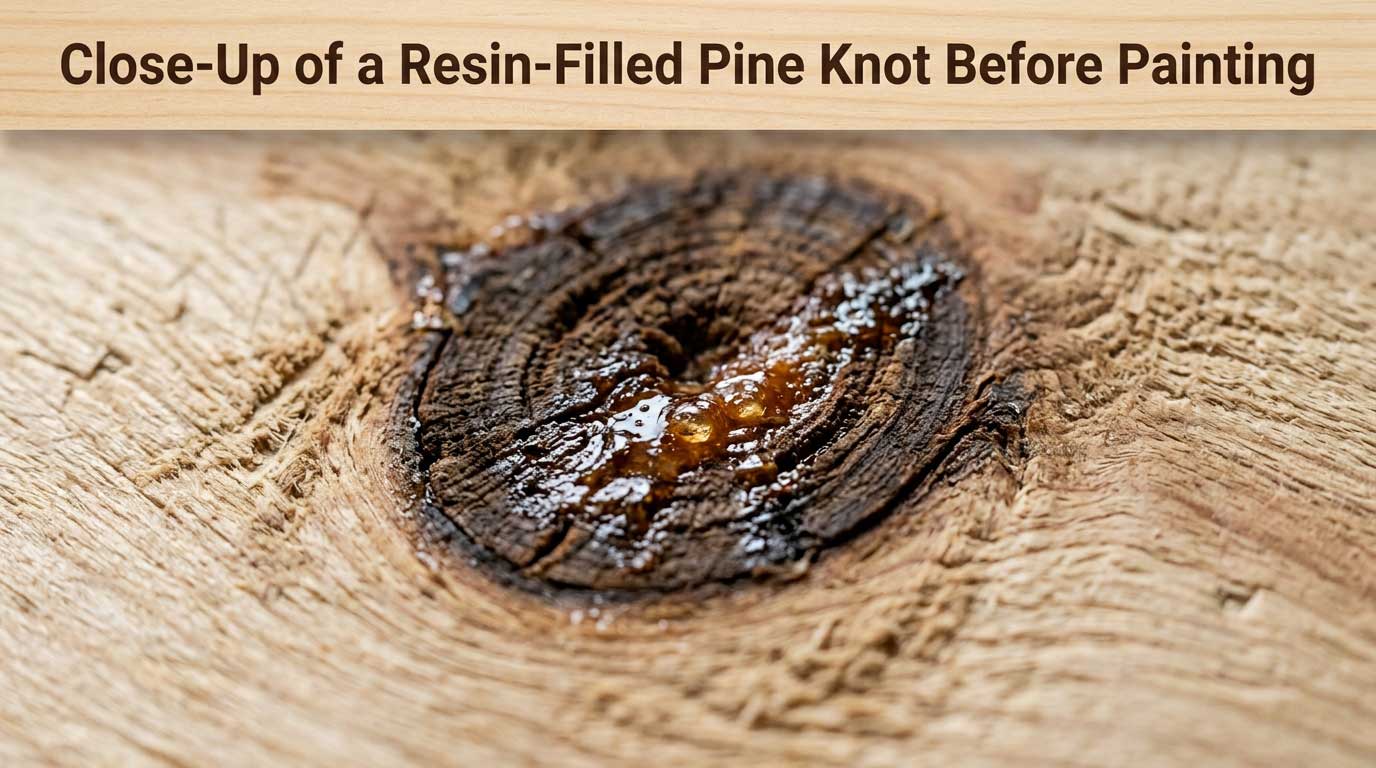
Pine knots are full of resin and tannins. Think of them as tiny pools of sap. They never fully “shut off,” even after the wood is cut and dried.
Paint does not seal that in. Most paint, and cheap primer too, is a bit porous. Those oils slowly push their way up to the surface. Heat, sun, or just time will pull them through. That’s the “bleeding” you see on your wall or cabinet.
I didn’t get this at first. I thought my primer had failed. I blamed the paint. Neither was true. The paint was fine. I just used the wrong primer for the job.
The Primer Mistake Almost Everyone Makes First
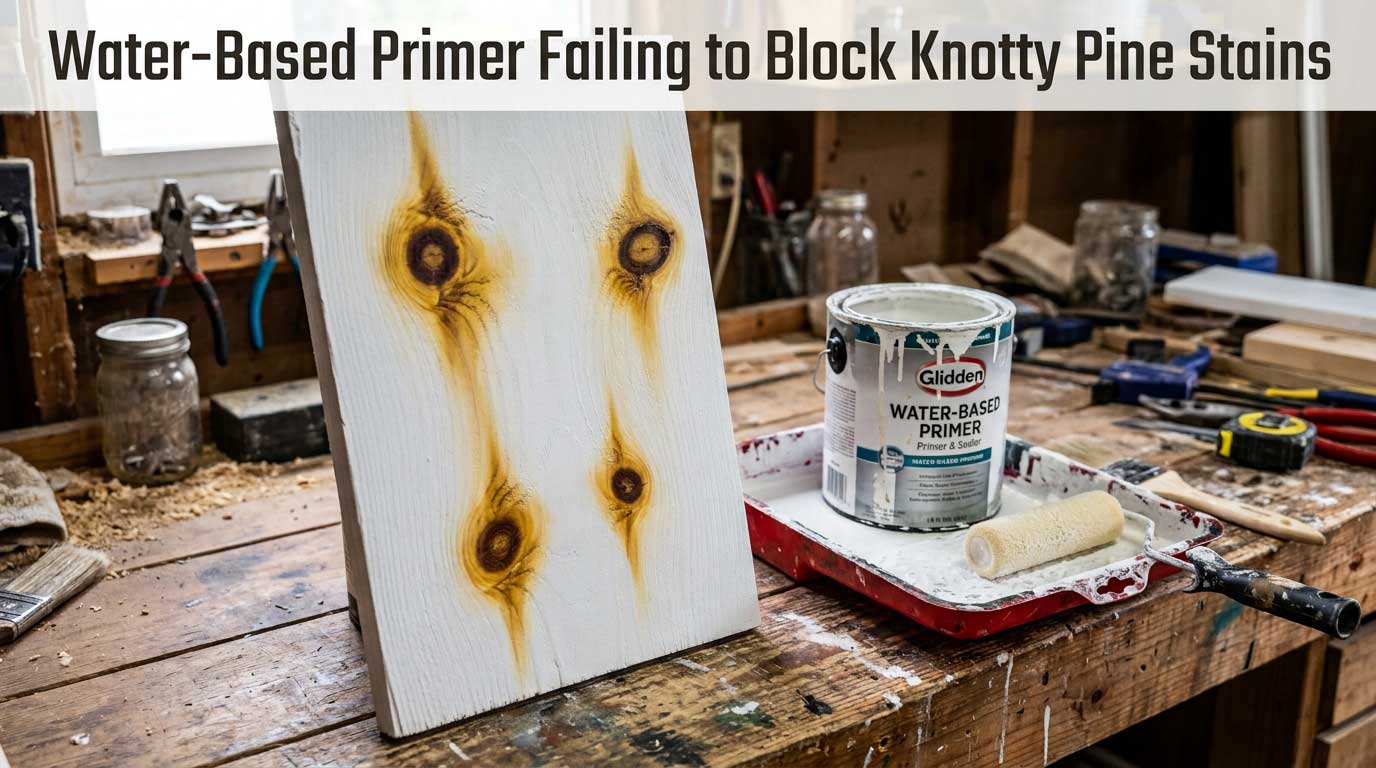
Here’s where I went wrong. Most people make the same mistake. I used a normal water-based primer, since that’s what I had on hand.
Water-based primer works great on drywall. It’s not built to block oily resin. The knots soaked right through it. My white paint turned into a row of amber rings.
If you take one thing from this part, take this: not all primer works the same way. Knotty pine punishes the wrong choice fast.
What Actually Stops the Bleeding
The fix is a stain-blocking primer. It works best when it’s shellac-based. Shellac dries into a hard, glossy coat. Resin simply can’t push through it. It’s the closest thing to a true barrier you’ll find at a normal hardware store.
I now use a shellac-based primer on every knotty pine project I do. Zinsser B-I-N is the one I keep buying. It smells strong, dries fast, and blocks the stain on the first coat almost every time.
Shellac vs Oil-Based Primer: What I Learned the Hard Way
Oil-based primer also blocks stains. Zinsser Cover Stain and Kilz Original both work well. This is a solid pick, especially outdoors, since shellac isn’t made for full outdoor use.
But in my experience, oil-based primer asks for more patience. It dries slower. On stubborn knots, one coat is sometimes not enough. Shellac dries in under an hour. It usually finishes the job in one pass.
My rule now is simple. I use shellac indoors. I use oil-based primer outdoors, or anywhere exposed to weather. I learned this the hard way, after I lost a full Saturday waiting on oil-based primer to dry on an indoor cabinet door.
My Step-by-Step Process (Finally) That Works
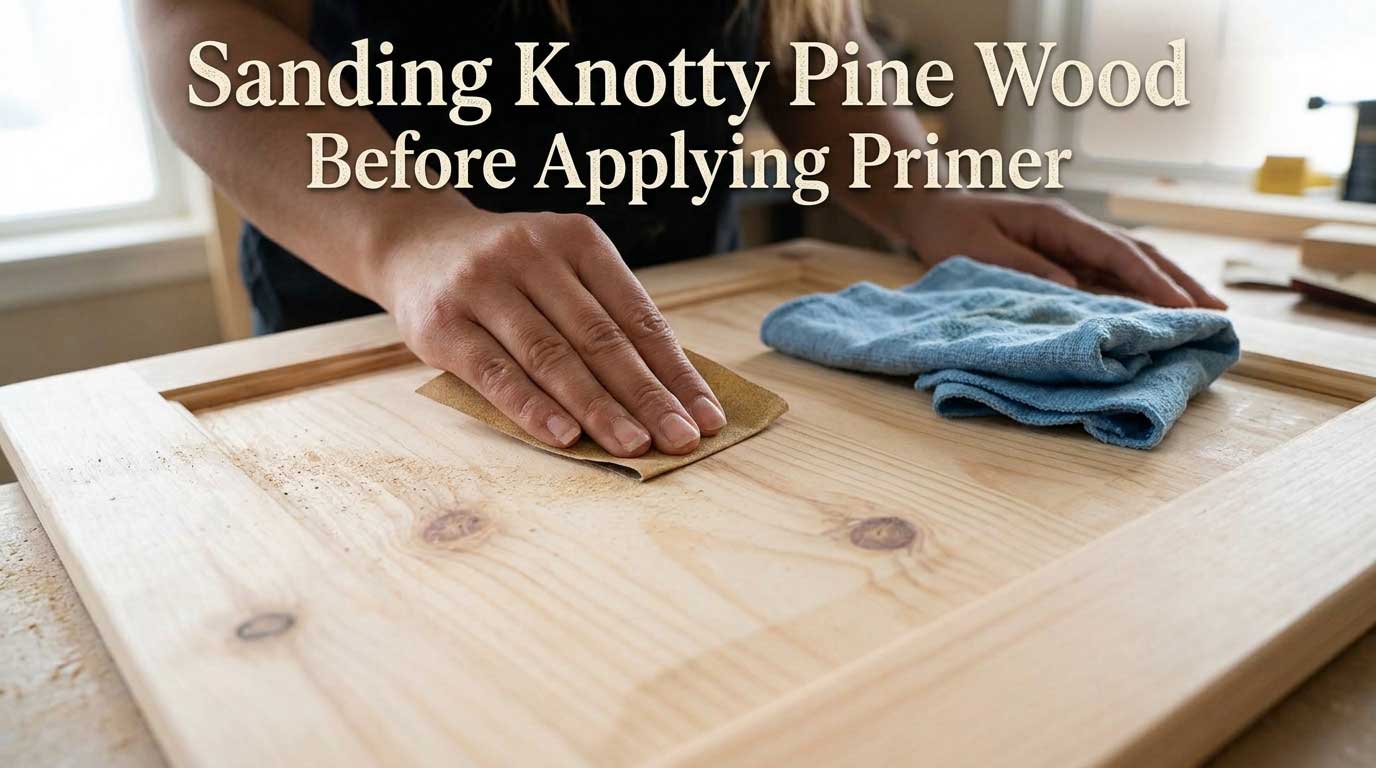
This is the exact order I follow now. I only found it after getting things wrong the first time.
First, I clean the wood. Grease and dust stop primer from gripping the surface. This matters most on kitchen cabinets, where grease builds up fast.
Then I sand it lightly. I just want to knock down any old shine. Bare pine doesn’t need much sanding at all.
Next comes the step most people skip. I hit every visible knot with its own coat of shellac-based primer, before I prime the rest of the piece. I use two thin coats, not one thick one. A thick coat skins over on top but stays soft underneath. That sounds fine, but it still bleeds through later.
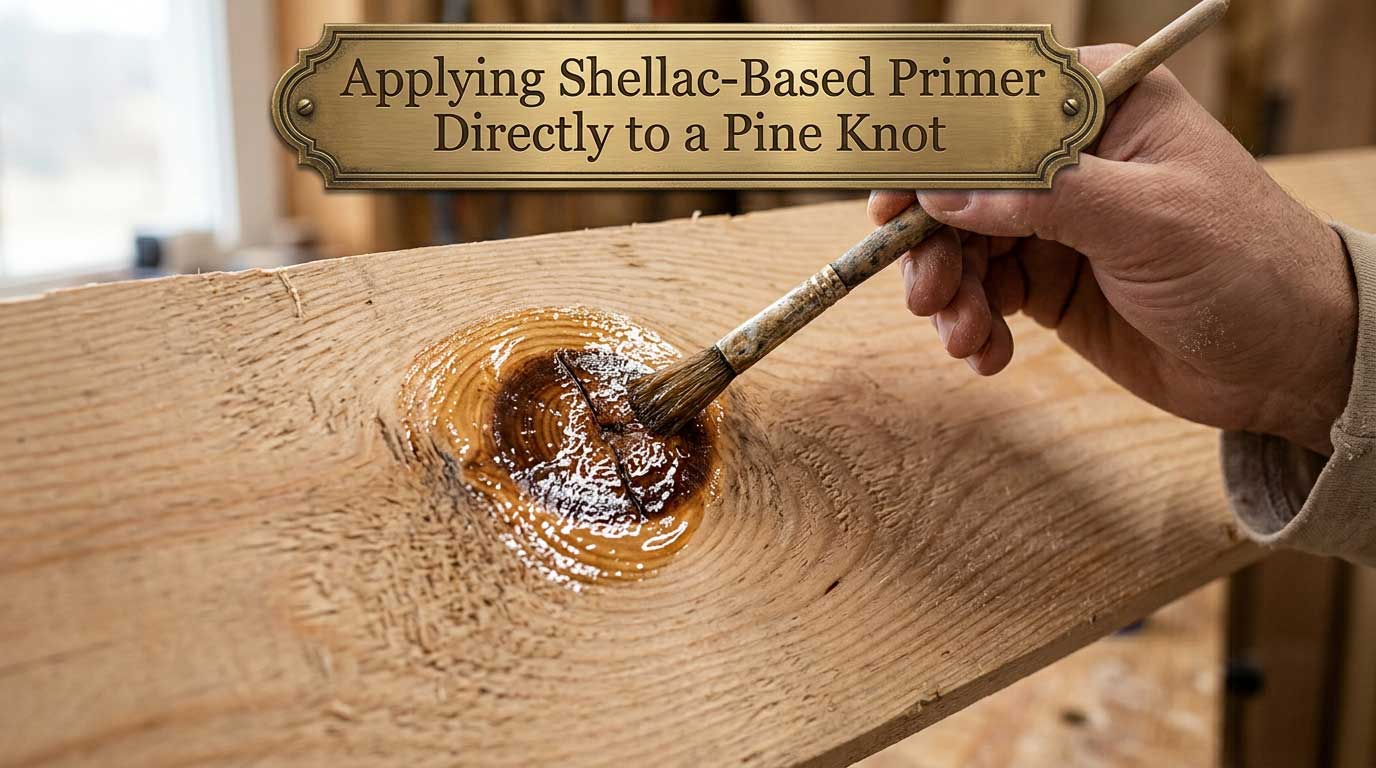
Once the knots are sealed, I prime the whole surface. Only then do I paint. Jumping straight to paint after just sealing the knots is the mistake that got me the first time around.
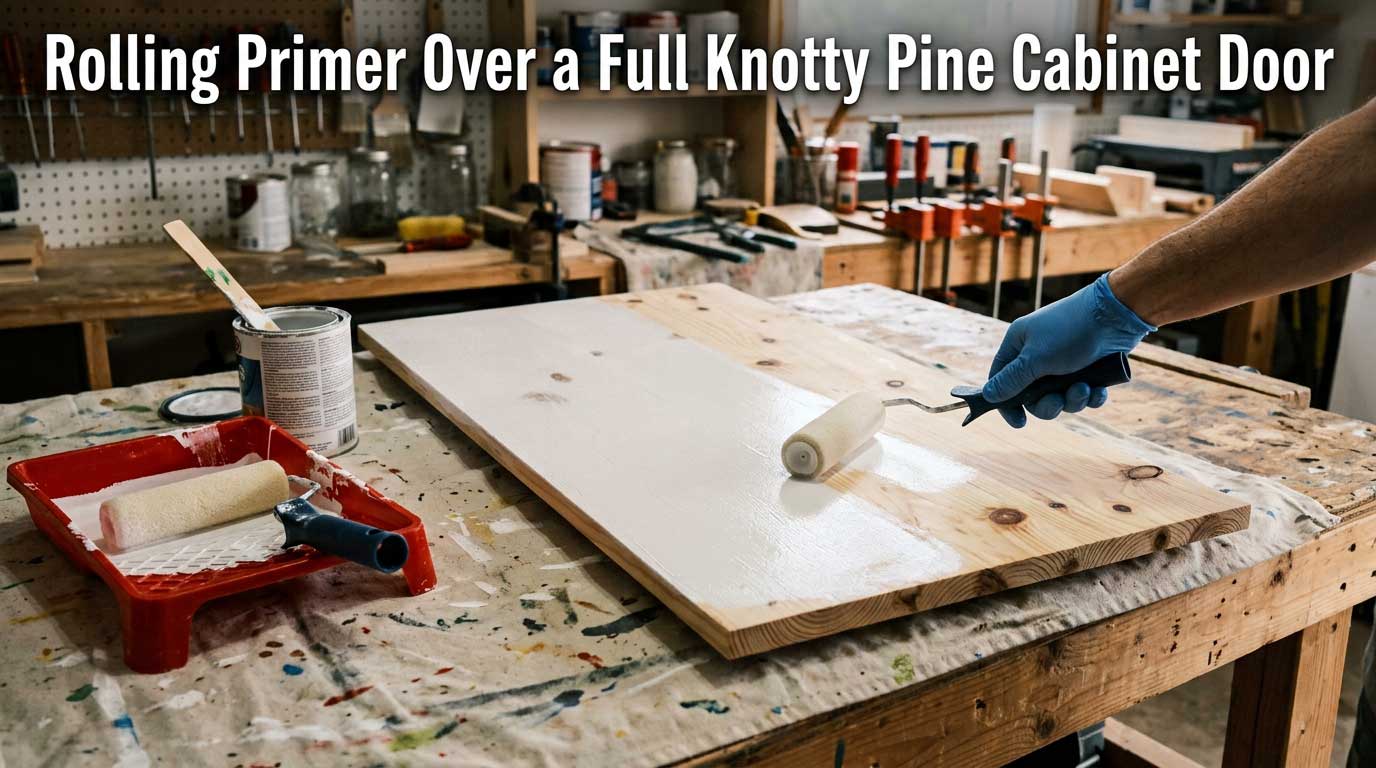
The Knots That Still Gave Me Trouble
Not every knot behaves the same way. The darker, tighter knots tend to cause the most trouble. Loose or “dead” knots, the ones with visible cracks, can be sneaky too, since resin often hides in the gaps.
On one project, a single knot bled through two full coats of shellac. I let it dry for a full 24 hours instead of my usual one hour, then added a third coat. That finally fixed it. Some knots just need more patience, not more product.
If You’re Already Seeing Bleed-Through, Here’s the Fix
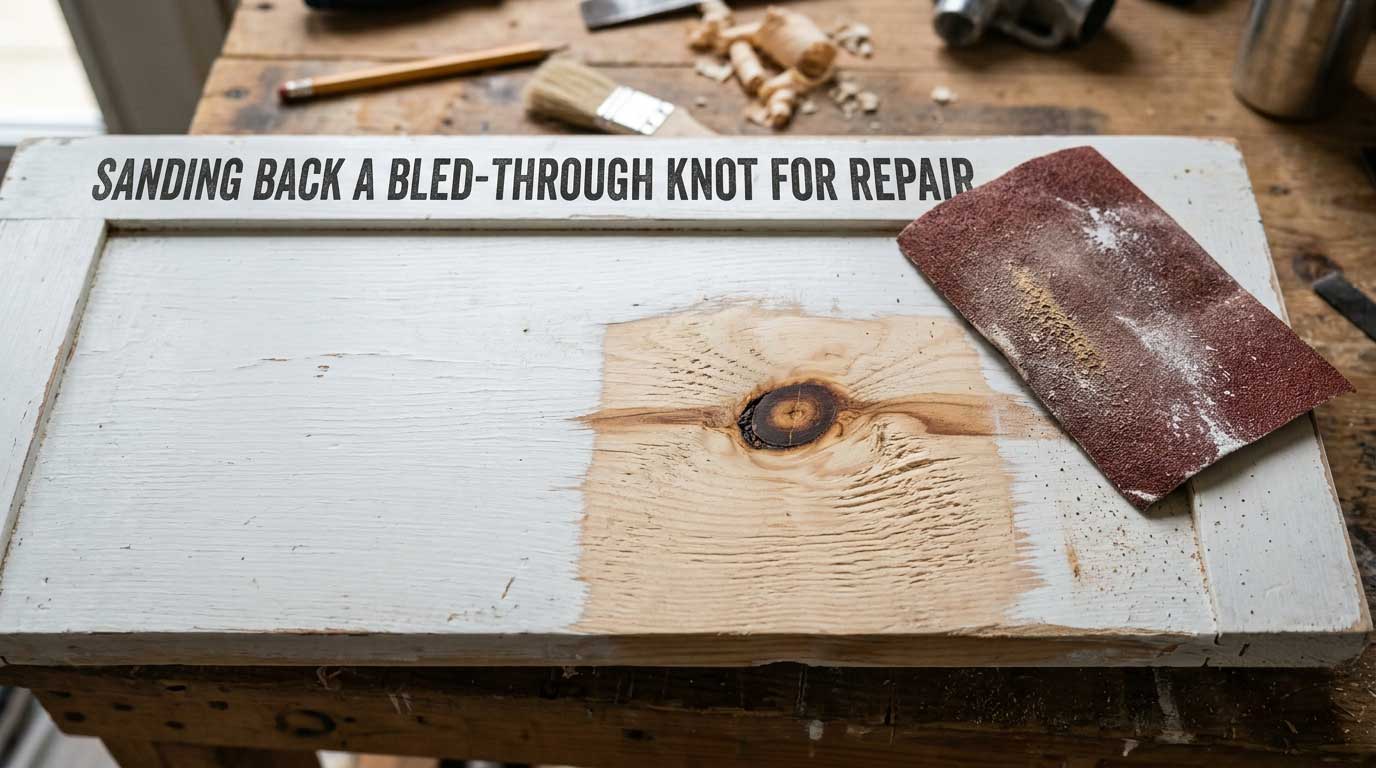
Maybe you’re past the prevention step. Maybe you’re staring at yellow rings through your paint right now. Don’t panic, and don’t just slap on another coat of paint. That never works. I tried it once, and I just ended up with a thicker version of the same problem.
Sand that spot down to the knot. Seal it well with shellac-based primer. Let it dry fully. Then re-prime and repaint just that section. It blends in far better than you’d expect.
Will It Come Back? Here’s My Honest Answer
If the knot was sealed the right way with shellac, it should not bleed through again. I still have cabinet doors I sealed years ago. They still look clean today.
It does come back when a knot gets missed, or the coat was too thin to cover it well. Heat near a stove or a radiator can also push a weak seal past its limit over time. So here’s my honest answer: a proper seal lasts. A rushed one doesn’t.
Common Questions
Do I need to prime the whole surface, or just the knots? Both steps matter here. Spot-prime every knot first with shellac. Then prime the full surface after that. Skipping the whole-surface primer leaves weak spots in other areas.
Can I use regular latex paint over the primer? Yes, you can. Once the shellac-based primer has sealed the knots, any good latex or oil paint will go on top just fine.
How many coats of primer does knotty pine need? Use two thin coats of shellac on each knot. Add one full coat over the whole piece after that. Stubborn knots may need a third spot coat.
Is the smell from shellac primer dangerous? It’s strong, but not dangerous, if you open a window and keep air moving. I always crack a door and run a fan when I use it indoors.
Is knotty pine a bad wood to paint? Not at all. It just needs one extra prep step that most people skip. Once you know that step, it paints beautifully.
Final Thoughts
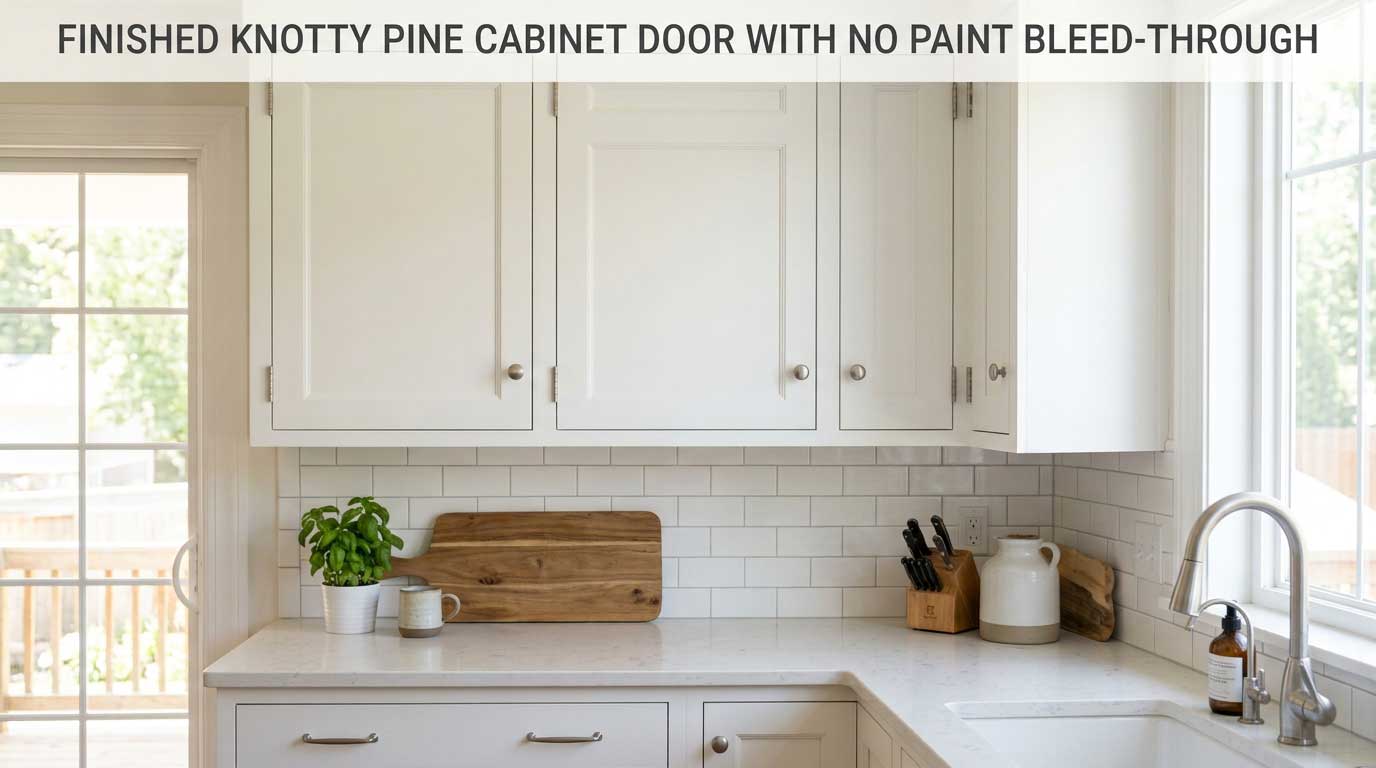
Knotty pine isn’t hard to paint once you know what’s happening under the surface. The resin was never going to sit still on its own. No amount of extra paint will out-stubborn it. A good shellac-based primer, used knot by knot, is the real difference between a finish that lasts and one that lets you down two weeks later.
If you take one thing from my experience, let it be this. Don’t rush past the prep step just to get to the fun part. I did that once, and it cost me a full redo. Seal the knots first. Prime the whole piece. Then paint. It’s not exciting advice, but it’s the advice that actually works.
Meta description: Knotty pine bleeding through paint? Here’s how I stopped it for good, with the exact primer and steps that finally worked for me.