
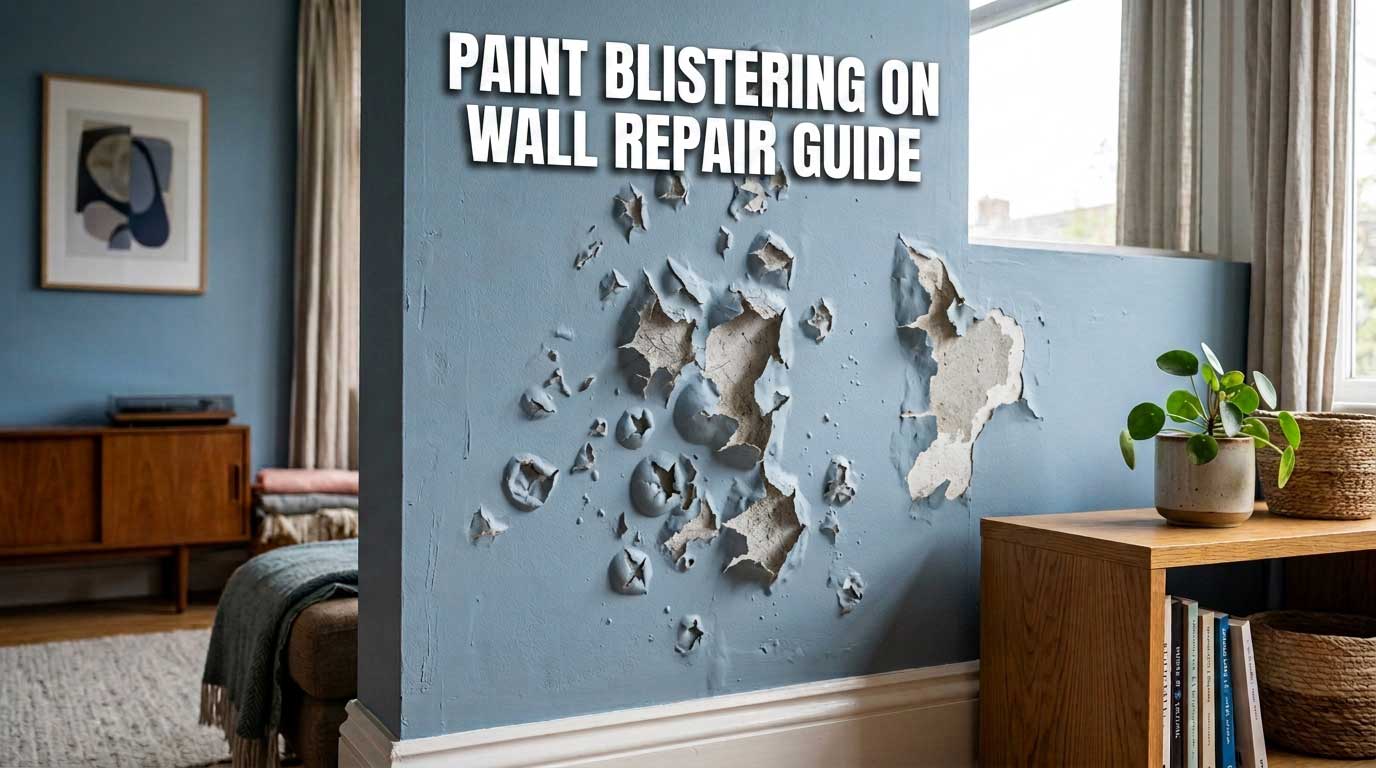
I remember the exact moment my heart sank. I had just spent my entire Saturday painting the guest bathroom. The color looked perfect. But when I checked on it the next morning, I saw them. Ugly, raised bubbles were popping up everywhere. Paint blistering on wall surfaces is a nightmare.
I panicked. I thought I bought bad paint. I thought I used the wrong roller. But the truth was much deeper. I had to learn the hard way why paint fails. I spent weeks fixing my mistakes. Today, I want to share exactly what I learned. You can fix this. You just need to know what is actually happening under that paint layer.
Table of Contents
Why is Paint Blistering on My Wall?
Bubbles do not just happen by magic. They happen when paint loses its grip. The paint film pulls away from the wall. Air or water fills that gap. Then, a blister forms.
The Moisture Trap
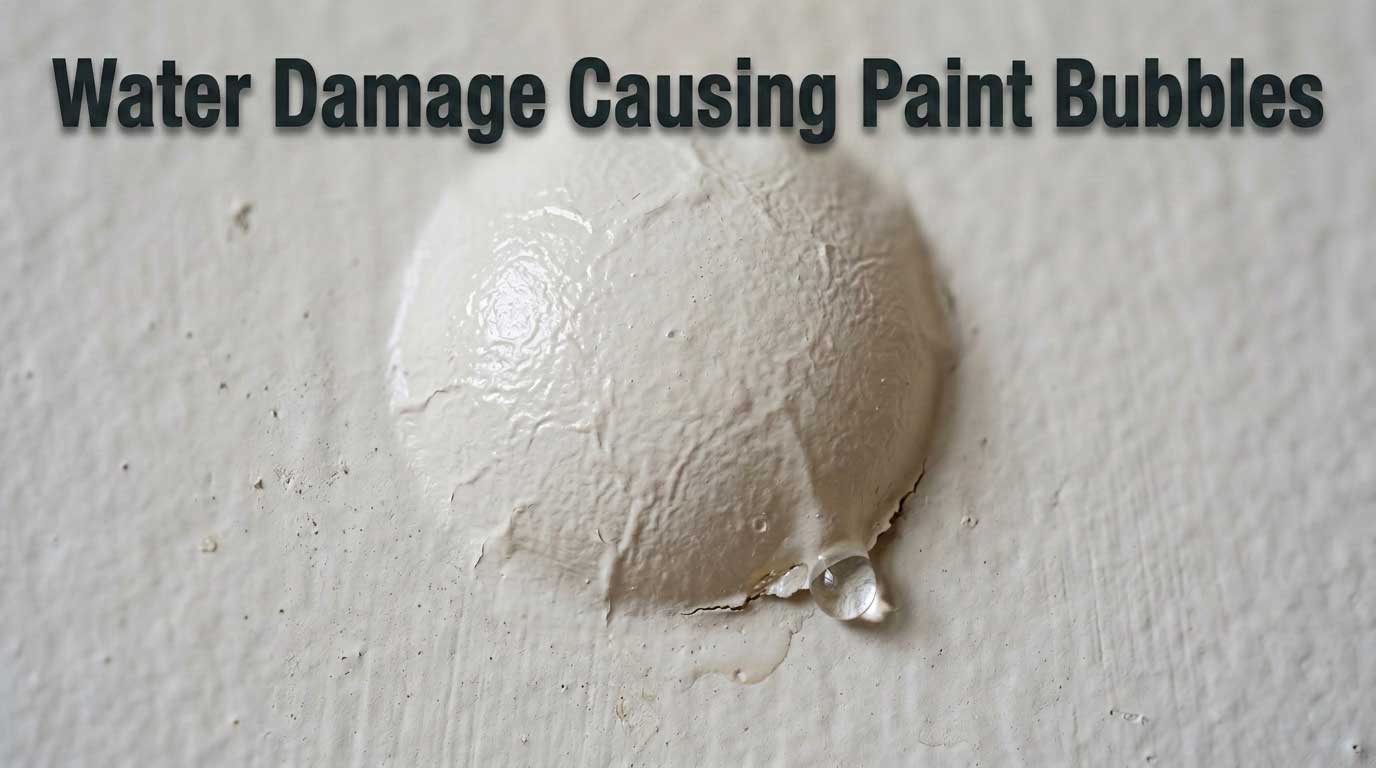
This is the biggest culprit. I learned this the hard way in my bathroom. Moisture is the enemy of fresh paint. If your wall is even slightly damp, the paint will not stick. Water vapor tries to escape from the drywall. It pushes against the paint. The paint stretches and forms a bubble.
Skipping the Prep Work
We all hate prep work. I used to skip it. I just wanted to see the new color on the wall. But dirty walls cause huge problems. Dust, grease, and old soap scum act like a shield. The new paint sticks to the dirt, not the wall. When the paint dries, it shrinks a little. If it is stuck to dirt, it lifts off.
Heat and Sunlight Fixation
I once painted a living room wall that faced the afternoon sun. I painted right in the direct heat. That was a huge mistake. The top layer of the paint dried too fast. The bottom layer was still wet. The trapped wet paint turned into vapor. It pushed up and caused instant blisters.
The Mistakes I Made When I First Tried to Fix It
I did not know what I was doing at first. I made things worse. I want to save you from these headaches.
Painting Over the Bubbles
My first instinct was to just paint over the blisters. I thought a thick coat of paint would hide them. It did not. The wet paint just made the blisters soft. They swelled up even bigger. It looked like a terrible skin rash on my wall. You cannot hide this issue. You have to remove it.
Using the Wrong Primer
After my first failure, I scraped the wall. But then I used a cheap water-based primer. The wall still had some old moisture issues. The water-based primer just soaked it up. The blisters came right back. I learned that you need a stain-blocking or oil-based primer for problem walls.
How to Fix Paint Blistering on Wall for Good
You cannot cut corners here. I tried, and it cost me double the time and money. Here is my exact process for a permanent fix.
Step 1: Basic Troubleshooting First
Do not just grab a scraper. You need to do some Troubleshooting first. Ask yourself why the wall failed. Is there a leaky pipe behind the drywall? Is your bathroom fan broken? If you do not fix the root cause, the bubbles will return. Take your time with this Troubleshooting phase. Find the water source. Fix the heat issue. Make sure the room is safe.
Step 2: The Messy Removal Process
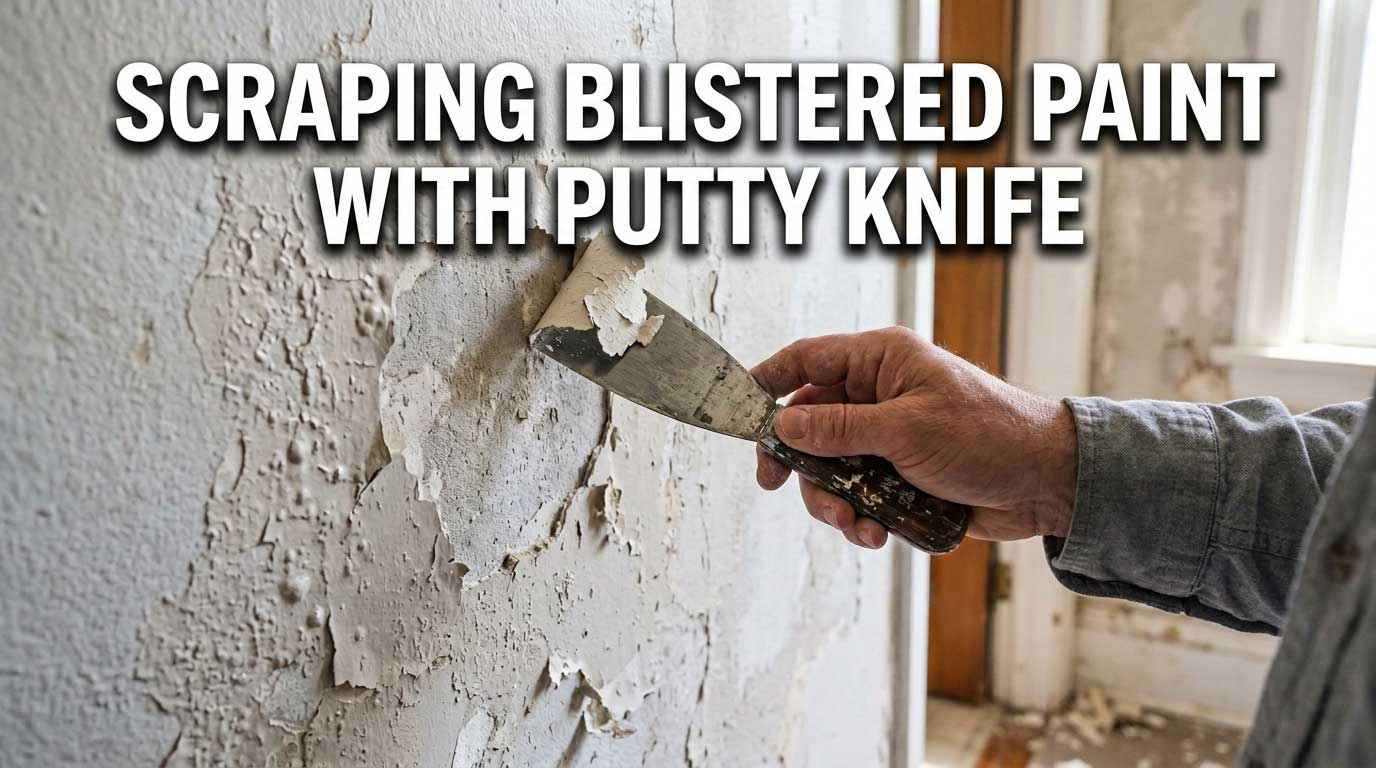
You have to get rid of the loose paint. Grab a good putty knife. Gently scrape away the blisters. Be careful not to gouge the drywall. I used to scrape too hard and make deep cuts in the wall. That just creates more work later.
Peel back the paint until you reach a spot where it is firmly stuck. Do not leave any loose edges. If an edge can be picked with your fingernail, it must go.
Step 3: Deep Cleaning the Area
Once the loose stuff is gone, you must wash the wall. Proper Cleaning is not optional. I use a mix of warm water and a tiny bit of dish soap. Wipe down the whole area. Remove all the dust from scraping.
If you are in a kitchen, grease is your enemy. Use a degreaser. Good Cleaning ensures the next layers will actually hold. Let the wall dry completely. I usually point a box fan at the wall and wait a full day.
Step 4: Patching the Craters
Now you have ugly dips in your wall where the paint used to be. You need joint compound. Spread a thin layer over the scraped areas. Feather the edges out so they blend with the old paint.
Let the compound dry. Then sand it smooth. I use a fine grit sponge for this. Make sure you wear a mask. The dust will get everywhere. Wipe the dust off the wall with a dry cloth.
Step 5: The Primer Rule
This is where the magic happens. Apply a high-quality primer to the patched spots. Do not use cheap primer. I prefer a shellac-based or oil-based primer for patched areas. It seals the compound perfectly. It stops any old moisture from creeping through. Let the primer cure for exactly as long as the can says.
Step 6: Painting and Regular Maintenance
Finally, you can paint. Use a high-quality roller. Apply thin, even coats. Do not rush it. Let the first coat dry fully before adding a second.
Once the wall is done, think about Maintenance. Check your walls occasionally. Keep the room ventilated. Good Maintenance prevents future headaches. Wipe down walls gently if they get dirty.
Tools You Actually Need for the Repair
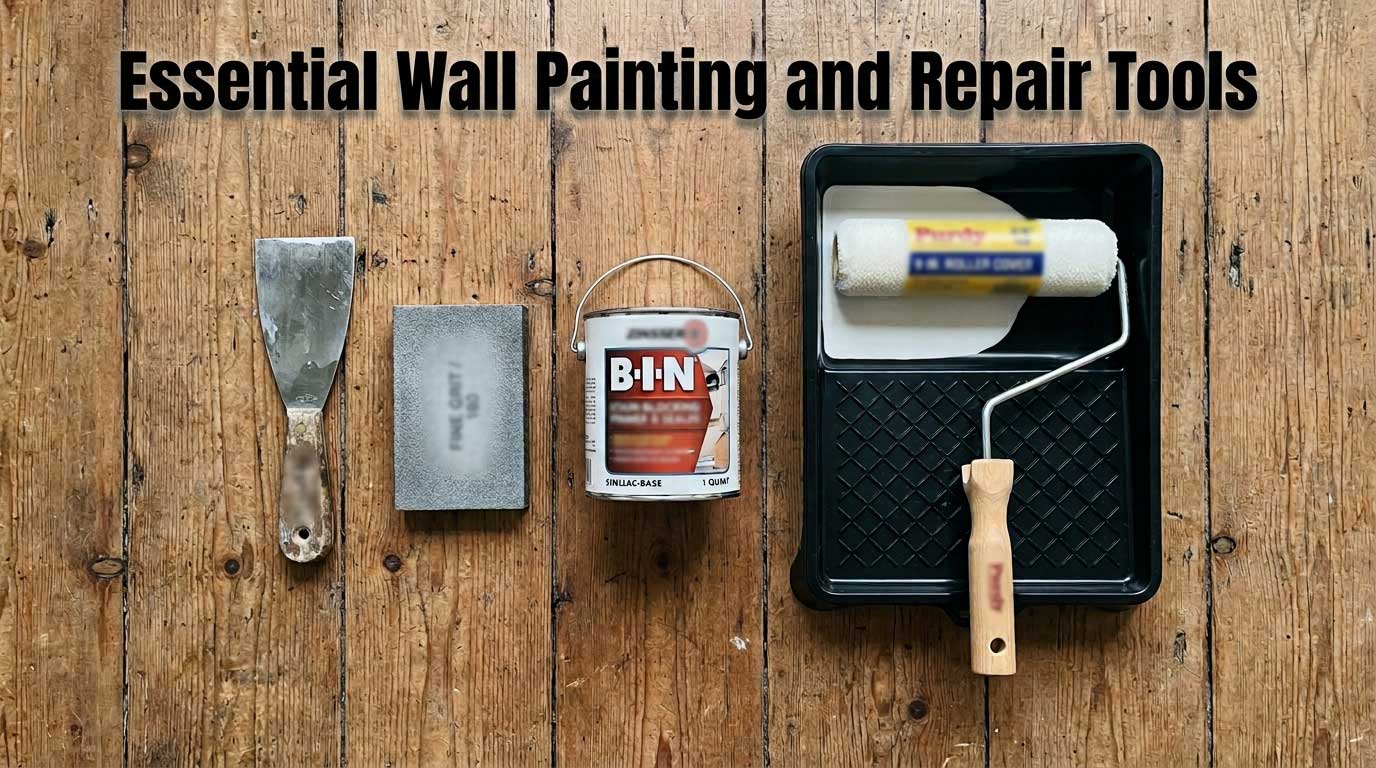
Having the right gear makes this job easy. I used to buy cheap tools and regret it.
Scraping and Sanding Gear
You need a stiff putty knife. You also need a sanding sponge. If you have a huge wall, you might use an electric sander. If your sander breaks, do not throw it away. Just order Replacement Parts for it. It saves money. A new sanding pad or simple Replacement Parts can make an old tool run like new.
Painting Supplies
Get good roller covers. Cheap ones leave fuzz on the wall. Get a solid metal roller frame. If the handle snaps, you can often find Replacement Parts at the hardware store. It is better to repair good tools than buy cheap new ones. Invest in a nice angled brush for cutting in the edges.
Paint Bubbles vs. Peeling: What is the Difference?
I used to think peeling and blistering were the same thing. They are related, but different.
Blistering is when bubbles form but the paint skin stays intact. It looks like a balloon. It happens quickly after painting.
Peeling is when the paint dries, cracks, and falls off in flakes. This usually happens over a long time. Both require the same basic fix. But blisters usually point to an immediate mistake in prep or moisture control.
Why Bathrooms Are the Worst Offenders
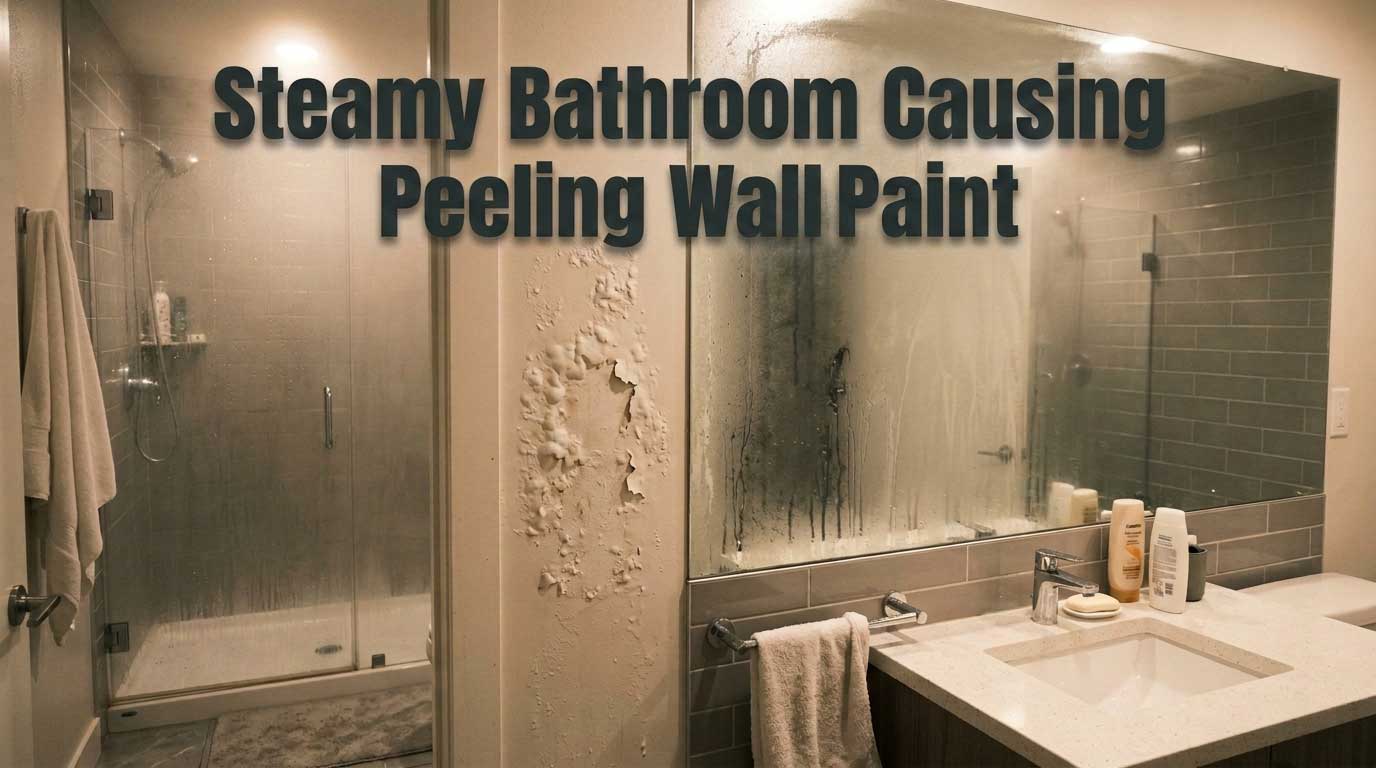
My guest bathroom taught me my hardest lessons. Bathrooms are humid boxes. We take hot showers. Steam fills the room. That water sits on the walls.
If you paint a bathroom, you must use paint made for high humidity. Standard flat paint will fail. It acts like a sponge. I now only use satin or semi-gloss in bathrooms. The water beads up and rolls off.
You also must run the exhaust fan. I tell everyone to run the fan for thirty minutes after a shower. It pulls the wet air out. If your fan is weak, replace it. It will save your paint job.
The Temperature Factor
I mentioned painting in direct sunlight earlier. Temperature matters so much. Paint chemistry is delicate.
If it is too cold, the paint thickens. It does not spread right. It will not bond to the wall. If it is too hot, the top dries fast and traps solvents underneath.
I always check the weather before I paint. Even inside. I try to paint when the house is around 70 degrees. I keep the curtains closed if the sun is baking a specific wall. Control the climate, and you control the paint.
When to Call a Professional
I like to fix things myself. But sometimes, a wall is too far gone.
If your wall is constantly bubbling no matter what you do, stop painting. You might have a massive water leak behind the drywall. You might have a cracked pipe. You might have a roof leak running down the studs.
If the drywall itself feels soft or mushy, paint will not fix it. You have to cut the bad drywall out. That requires real Repair skills. Sometimes it is best to hire a plumber or a drywall expert. Do not hide a water leak with fresh paint. It will rot your house.
Dealing with Older Homes and Oil Paint
I once helped a friend with an older house. The paint was bubbling in sheets. We found out the old walls were painted with oil paint. My friend tried to put modern latex paint directly over the old oil paint.
Latex will never stick to glossy oil paint. It just slides off when it dries.
If you have an older home, test the walls. Put rubbing alcohol on a cotton ball. Rub the wall. If paint comes off, it is latex. If it stays clean, it is oil.
If you have oil paint, you must scuff the whole wall with sandpaper. Then you must apply a special bonding primer. Only then can you use modern latex paint. It is a huge pain, but it is the only way.
Taking Care of Your Equipment
Painting is messy. Cleaning up is the worst part. But you have to do it.
Wash your brushes immediately. Use warm water and a wire brush to get the paint out of the bristles. If you let paint dry in a brush, it is ruined.
Clean your roller frames. Keep your trays spotless. If your sprayer nozzle clogs permanently, look for Replacement Parts online. Do not let bad tool care ruin your next project. A well-maintained brush will last for years.
Common Questions Answered
Why does my new paint have bubbles? Moisture or dirt was trapped underneath. The new paint could not grip the wall properly.
Can I just paint over the blisters? No. The blisters will just swell up again. You must scrape them off completely.
Should I pop the paint bubbles? Yes, but you have to scrape the whole loose area. Just poking a hole will not fix the loose bond.
How long should drywall patch dry before painting? Wait at least 24 hours. If it feels cool to the touch, it is still holding moisture.
Does high humidity cause paint to bubble? Yes. Too much moisture in the air slows drying and weakens the paint bond.
What is the best primer for problem walls? A stain-blocking, oil-based or shellac-based primer works best to seal out moisture.
My Final Routine for Perfect Walls
I have painted dozens of rooms since my first disaster. I have a strict routine now. I never rush. I never skip steps.
I start by emptying the room. I clean every single wall with a damp rag. I look for any tiny cracks or peeling spots. I fix them immediately. I wait for the walls to dry. I use the best primer I can afford. I control the room temperature. I take my time rolling the paint.
This routine takes longer. It requires patience. But I never have to deal with peeling or bubbling anymore. Doing it right the first time is always faster than doing it twice.
Final Thoughts
Dealing with paint blistering on wall surfaces is incredibly frustrating. It feels like a massive step backward when you just want a fresh-looking room. But do not let it defeat you. I learned that every painting failure is just a lesson in preparation.
Take a deep breath. Scrape the bad spots. Find out why it happened. Prime it properly. You will get it right this time. The satisfaction of a perfectly smooth, durable wall is worth the extra effort. Good luck with your project. You can absolutely do this.